
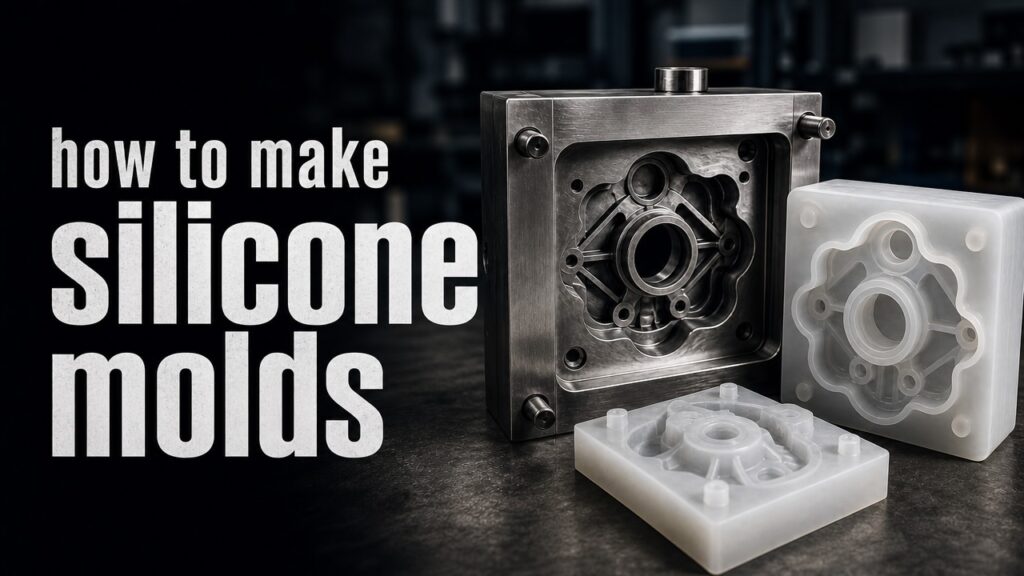
Why Make Your Own Silicone Molds
How to make silicone molds is one of the most useful DIY skills for crafters, makers, and small-batch producers. A homemade silicone mold lets you reproduce almost any object — resin jewelry, soap bars, candles, chocolate, concrete ornaments — with consistent results every time.
Commercial molds cost money and limit you to the shapes the manufacturer chose. The appeal of learning how to make silicone molds is total freedom over shape, size, and detail — the same flexibility maker communities have embraced for years. The appeal of learning how to make silicone molds is total freedom over shape, size, and detail. Making your own silicone molds costs a fraction of that and opens up unlimited possibilities. Once you learn how to make silicone molds, you can duplicate your favorite objects, create custom shapes, and even start a small business selling cast items.
The process itself is straightforward: build a mold box around your original object, mix and pour liquid silicone rubber, let it cure, then remove the original. Seven steps total, each with a few important details that separate good molds from failed ones. Follow them in order and you will know how to make silicone molds confidently on your first attempt.
What You Need to Know Before Making Silicone Molds
Silicone mold rubber is a two-part liquid: a base and a catalyst. Understanding these two parts is the foundation of how to make silicone molds that cure reliably every time. When mixed in the correct ratio, it cures into a flexible, heat-resistant rubber that captures fine detail and releases cleanly from most materials.
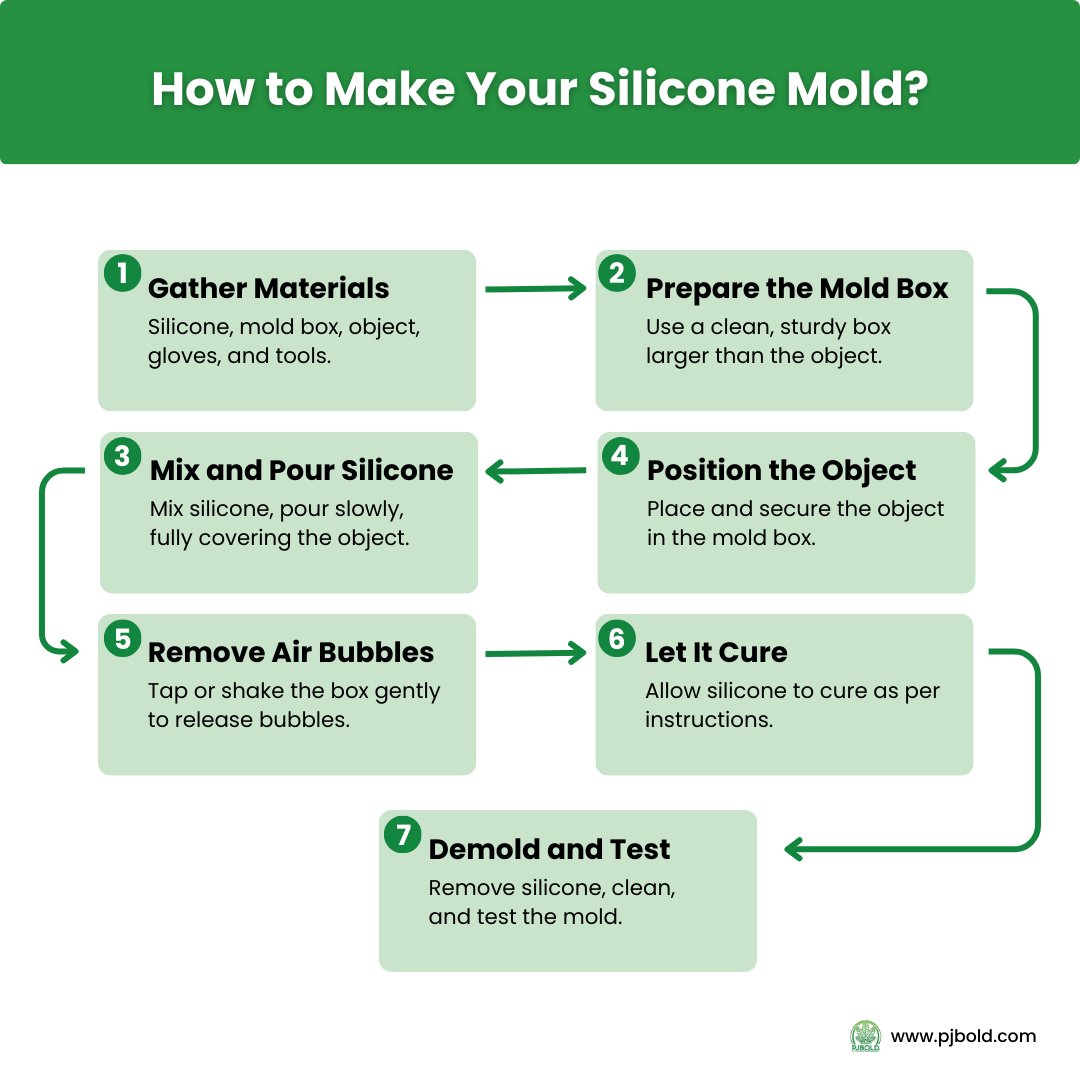
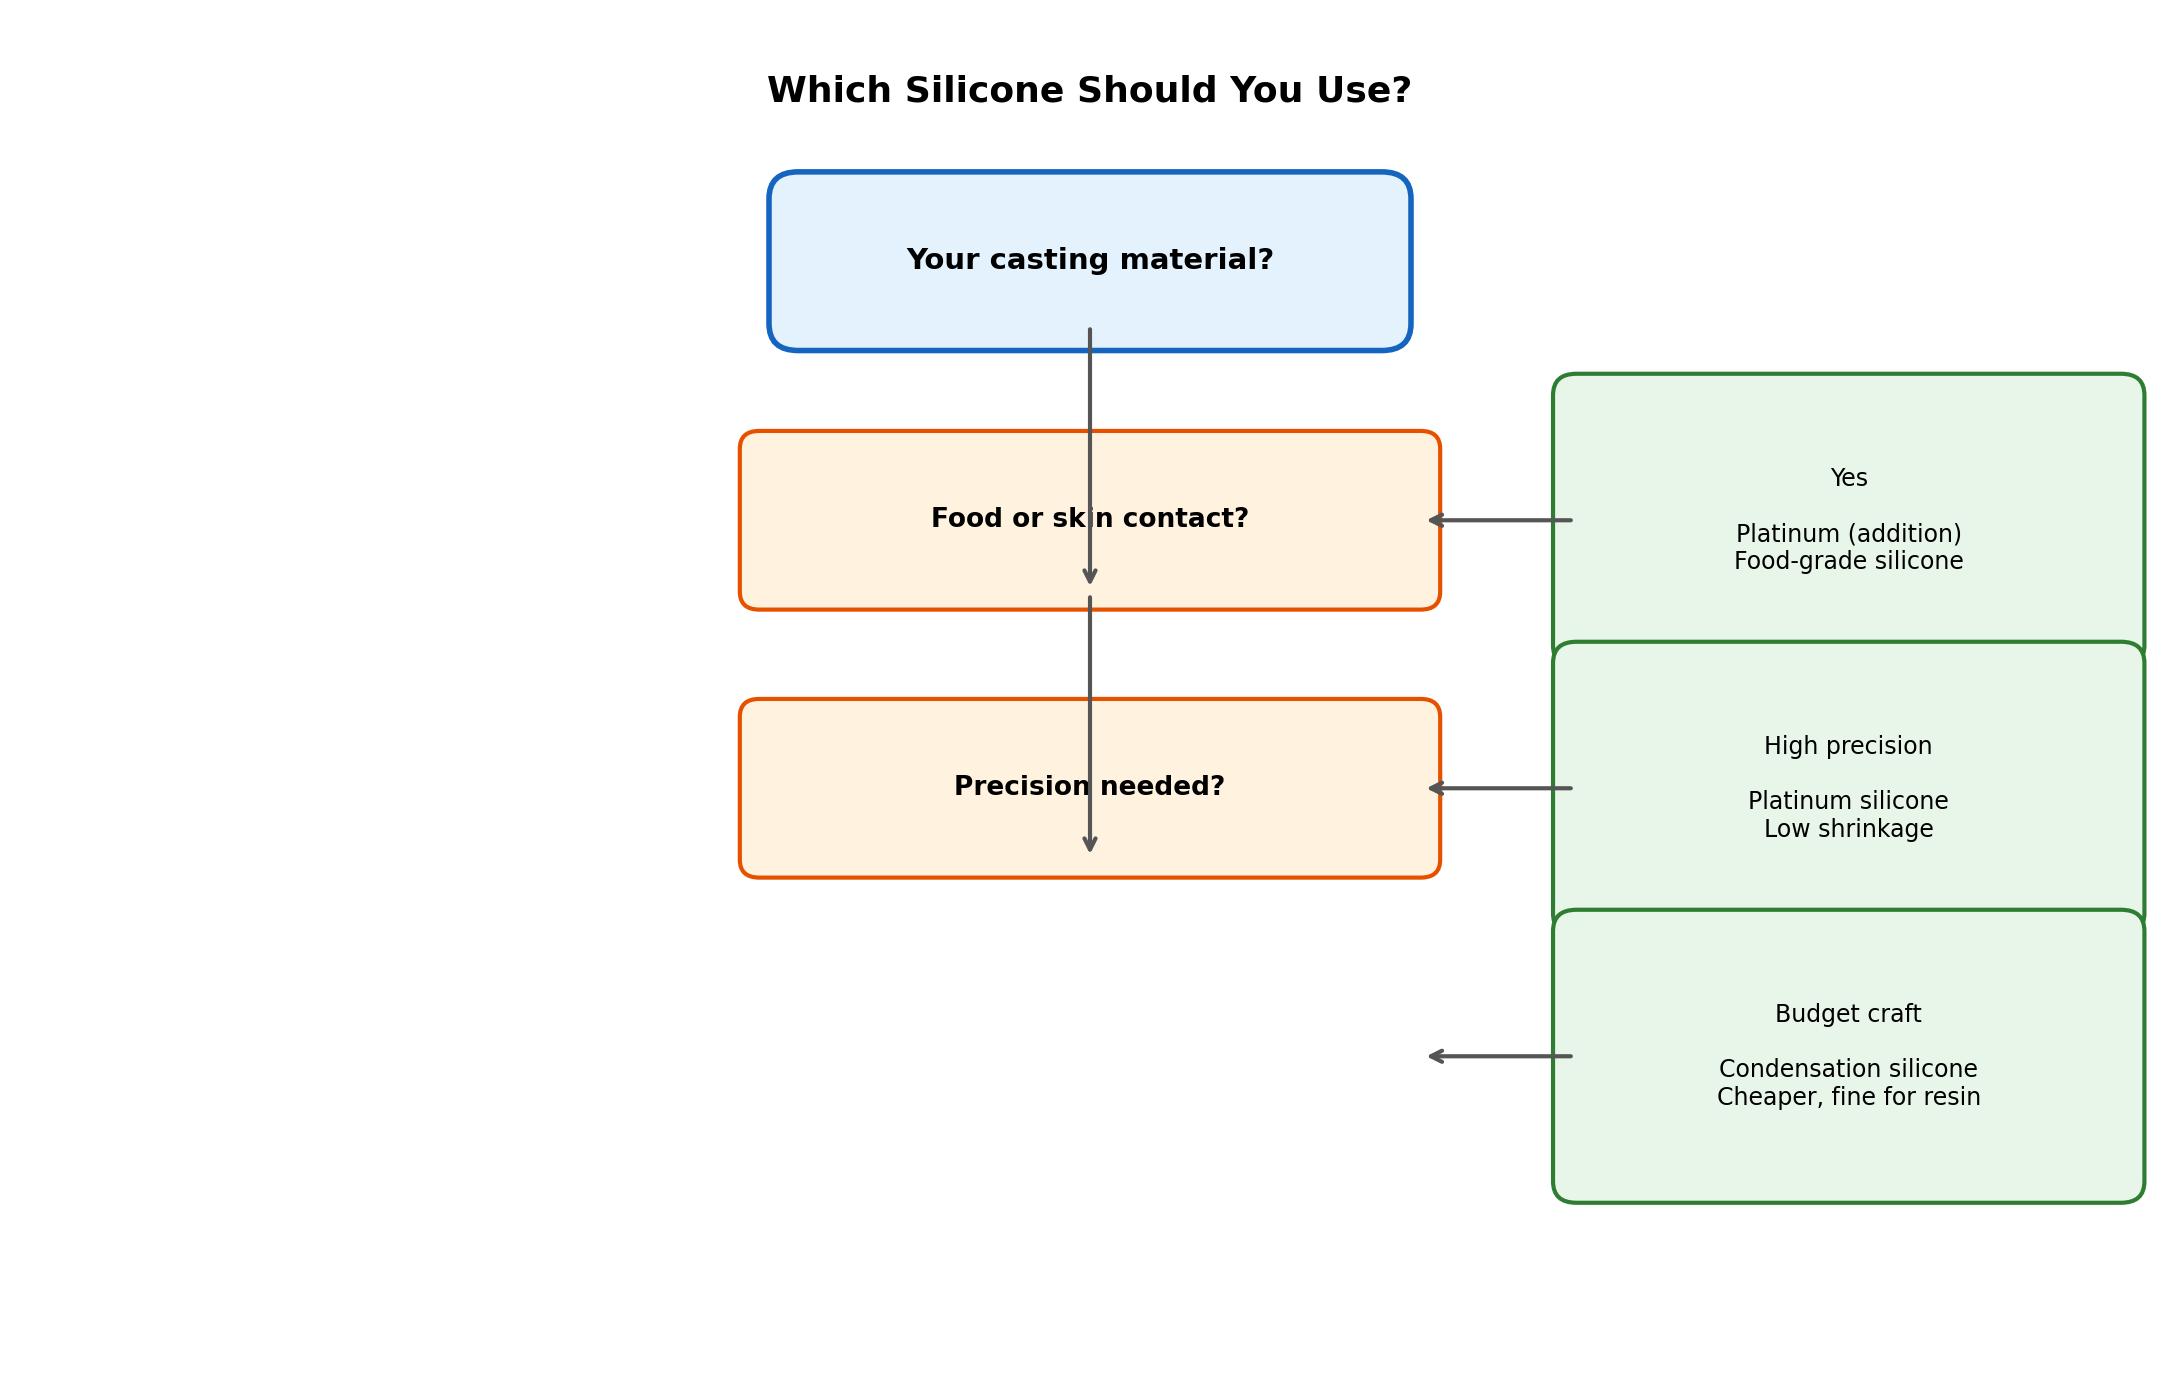
Two main types exist. Condensation-cure silicone is cheaper and simpler, curing at room temperature. At the other end of the scale, industrial micro moulds for precision injection molding use machined steel, not rubber — the material choice depends entirely on what you produce. Addition-cure (platinum) silicone costs more but shrinks less, cures faster, and works with more casting materials — especially food-safe and skin-safe applications. Your choice depends on what you plan to cast.
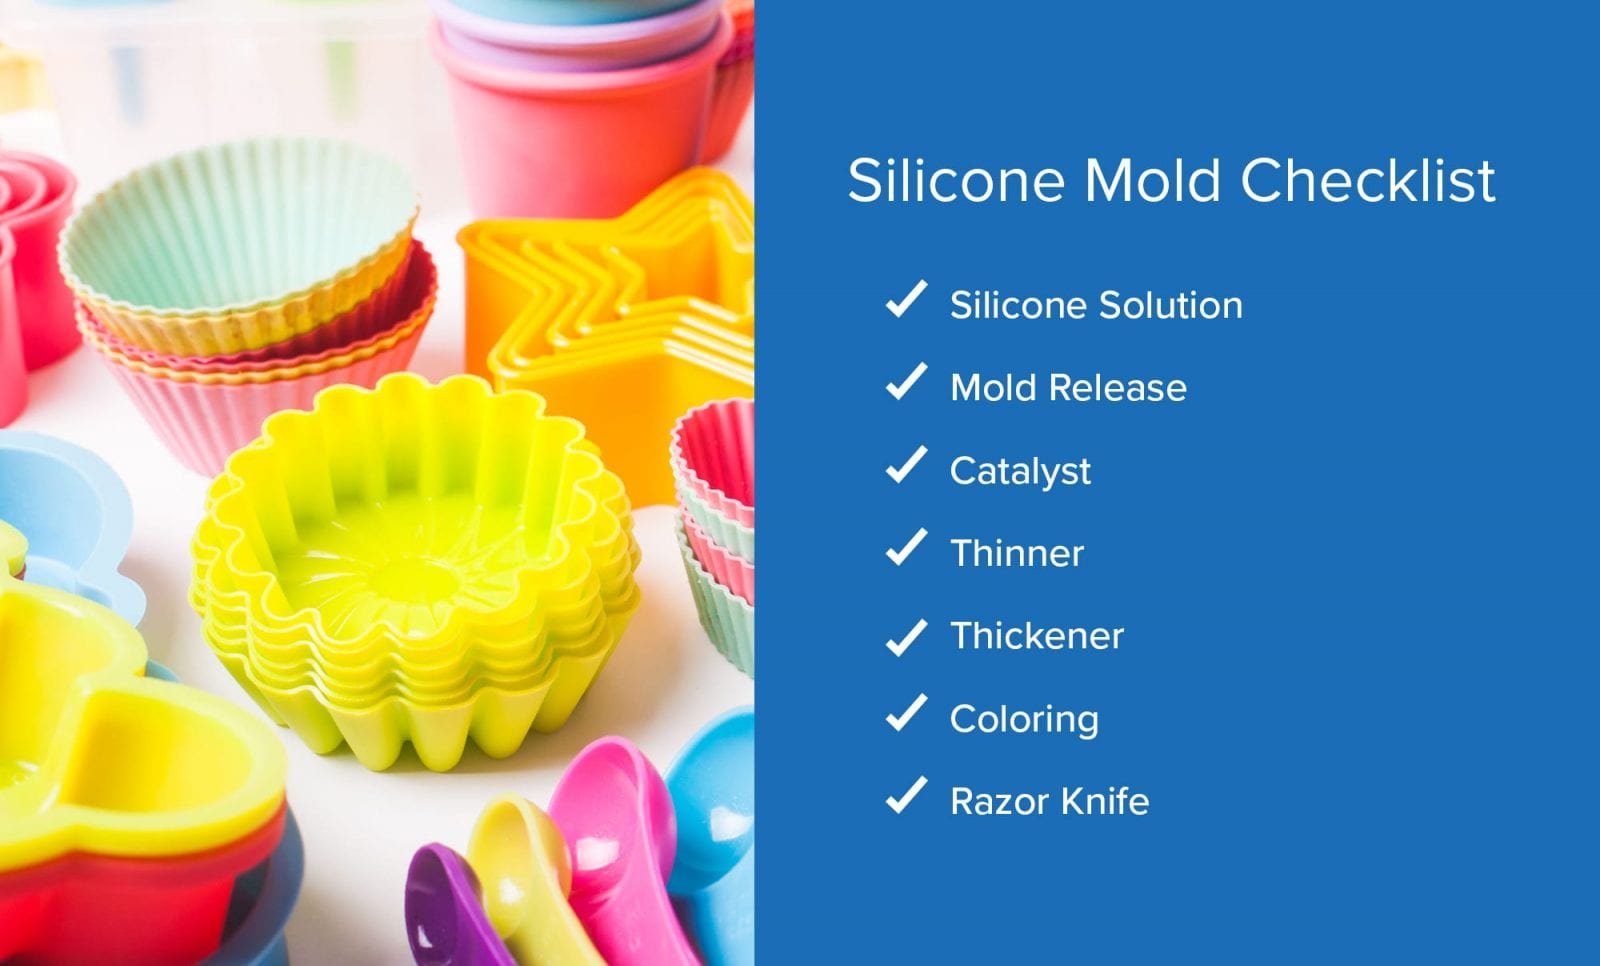
Before you start, gather these supplies: liquid silicone rubber, a mixing container, stirring sticks, a mold box (or material to build one), release agent, and the object you want to duplicate. Most beginners find the whole setup costs under $50 for a first project.
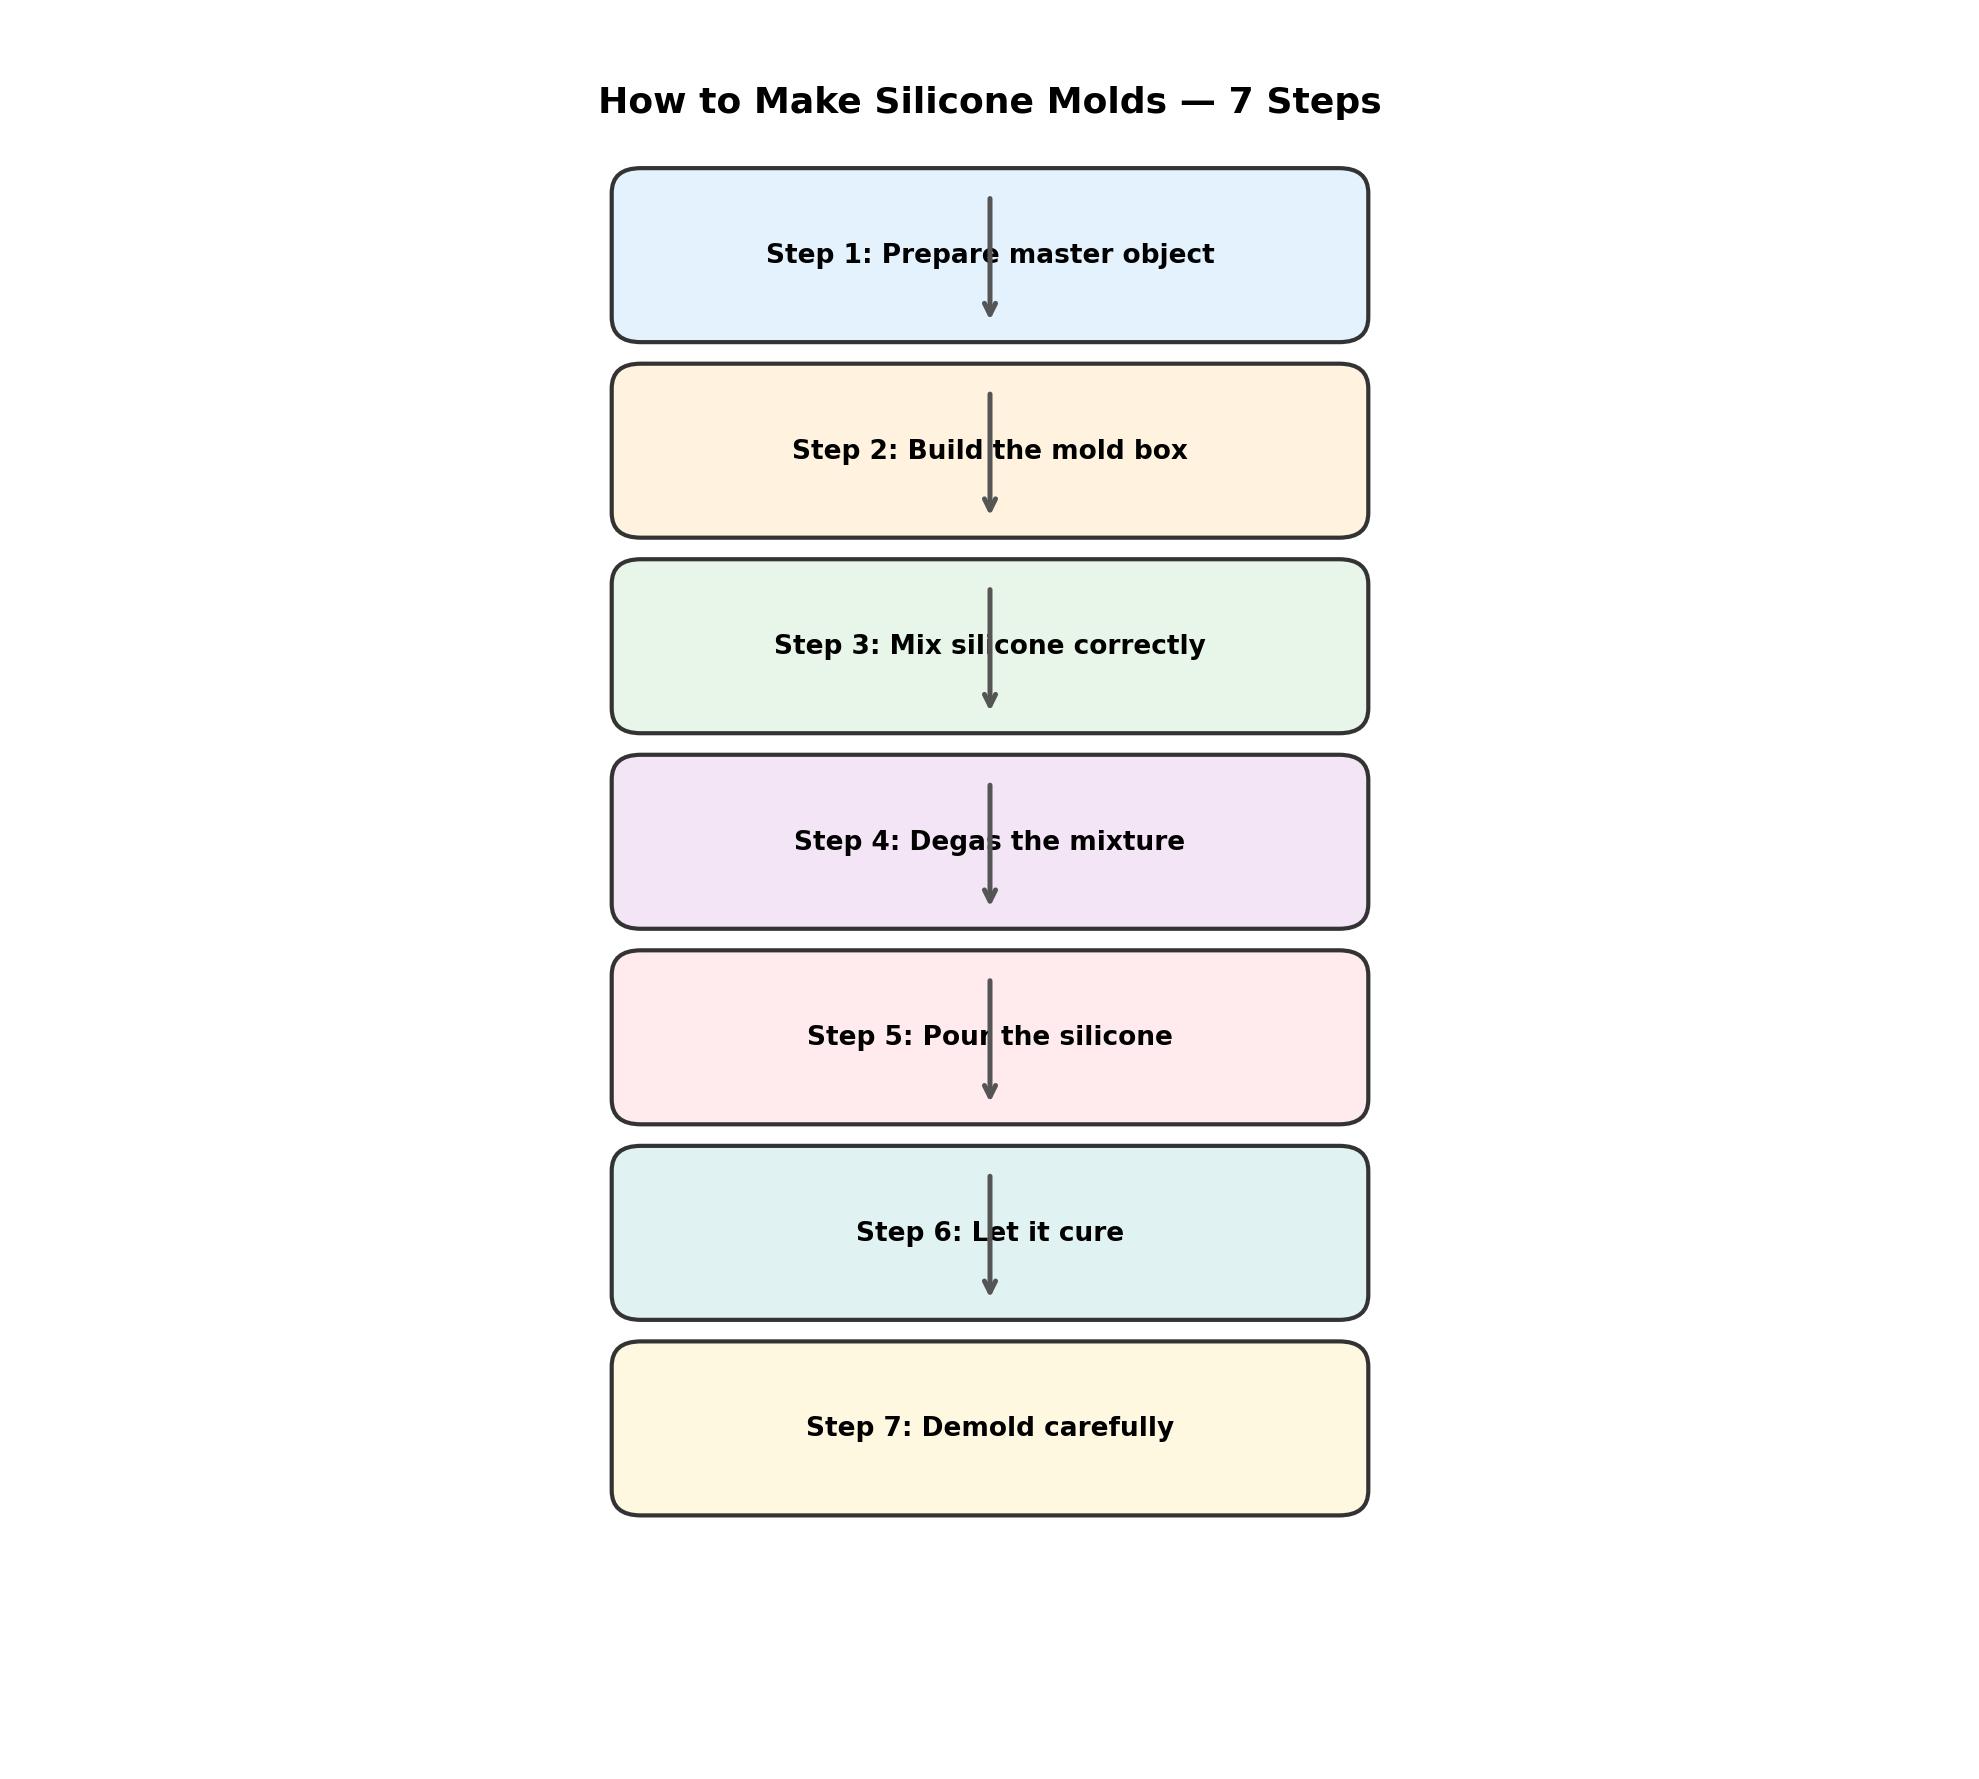
How to Make Silicone Molds in 7 Steps
The first rule of how to make silicone molds is that the mold is only as good as the master it copies.
Step 1: Prepare Your Master Object
Clean your original object thoroughly. Dust, grease, and fingerprints transfer directly into the mold surface. Wash with mild soap and water, dry completely, then wipe with isopropyl alcohol for a final clean.
For porous materials like wood, plaster, or unglazed ceramic, seal the surface first with a clear acrylic sealer. Otherwise the silicone will seep into pores and lock the object in the mold. If your object has undercuts — features that trap the mold — plan a two-part mold or accept that you will need to cut the mold open later.
A simple, well-built box prevents most leaks and misalignment — a detail that separates clean molds from messy ones when you learn how to make silicone molds.
Step 2: Build the Mold Box
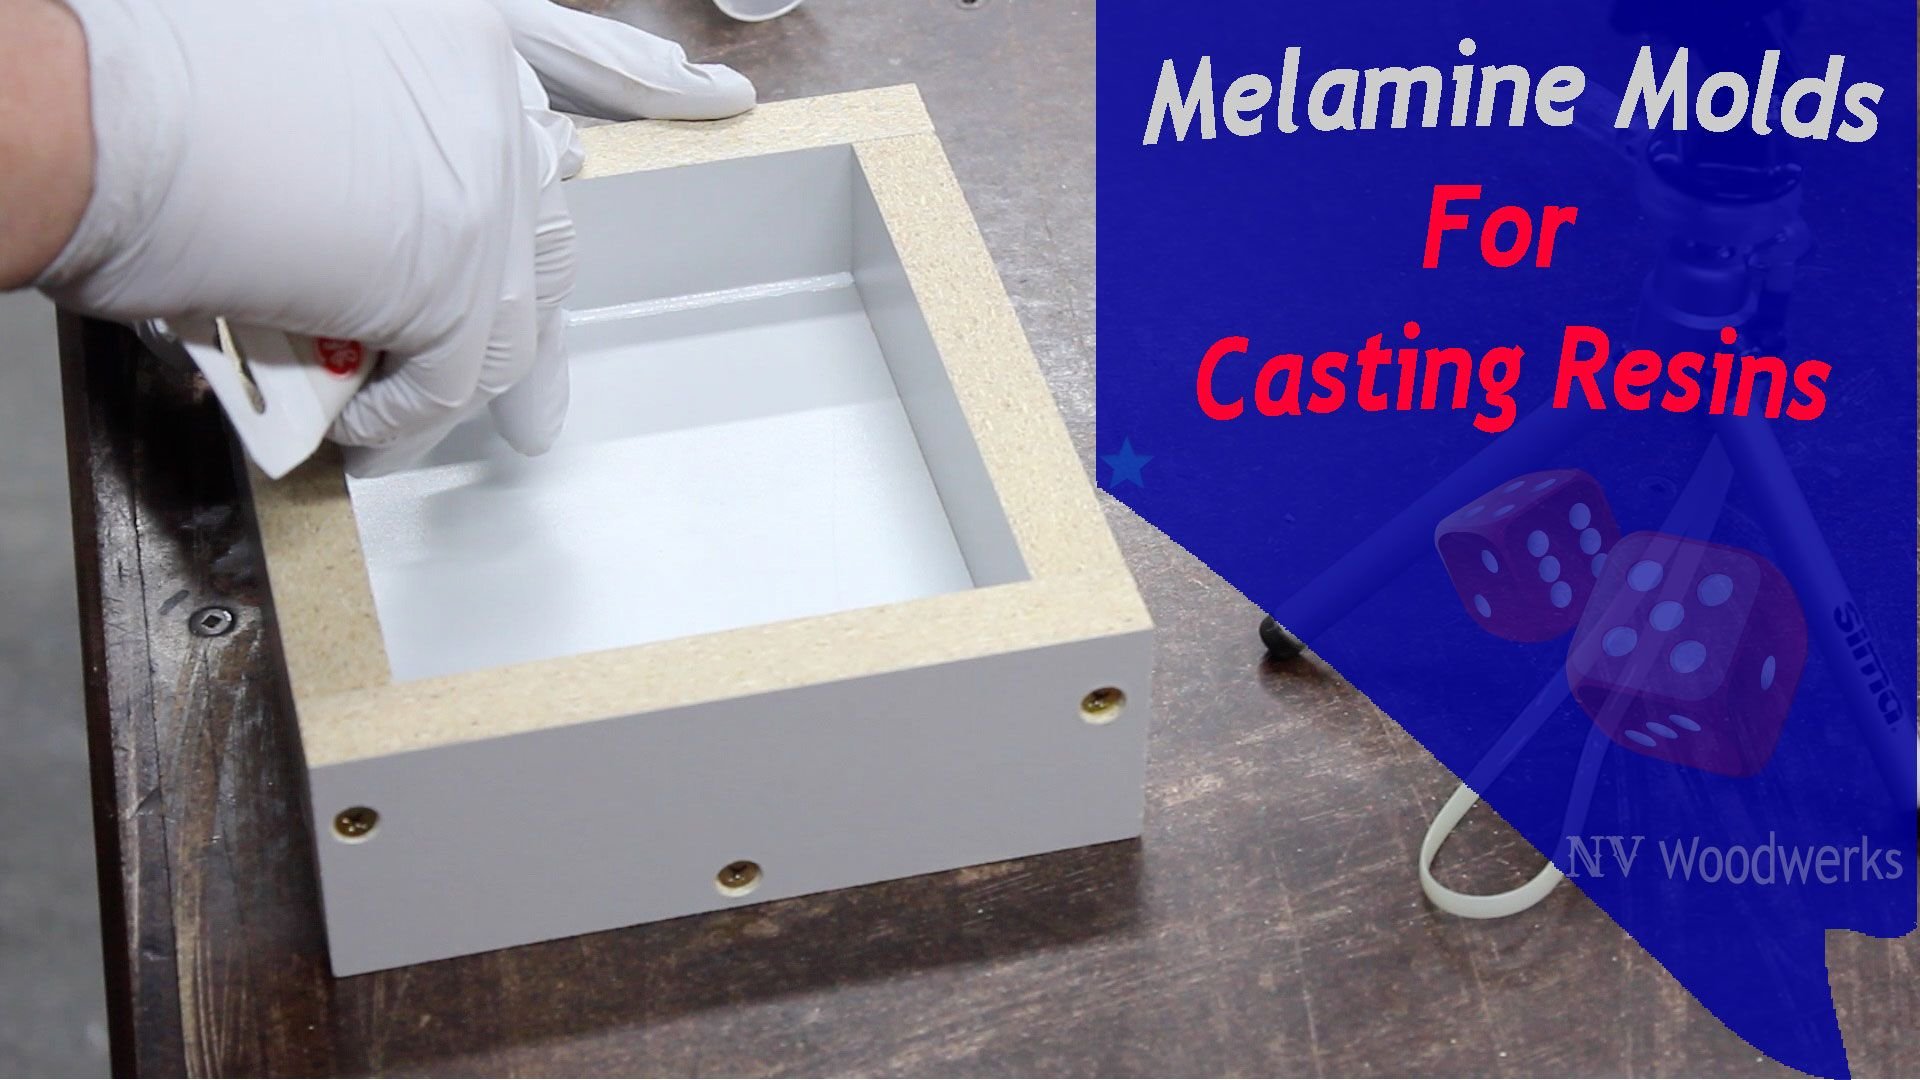
The mold box is a container that holds liquid silicone around your object. Use acrylic sheets, plastic tubs, Lego walls, or even cardboard coated with tape. The box should sit 1-2 cm wider than the object on every side, with the same clearance above.
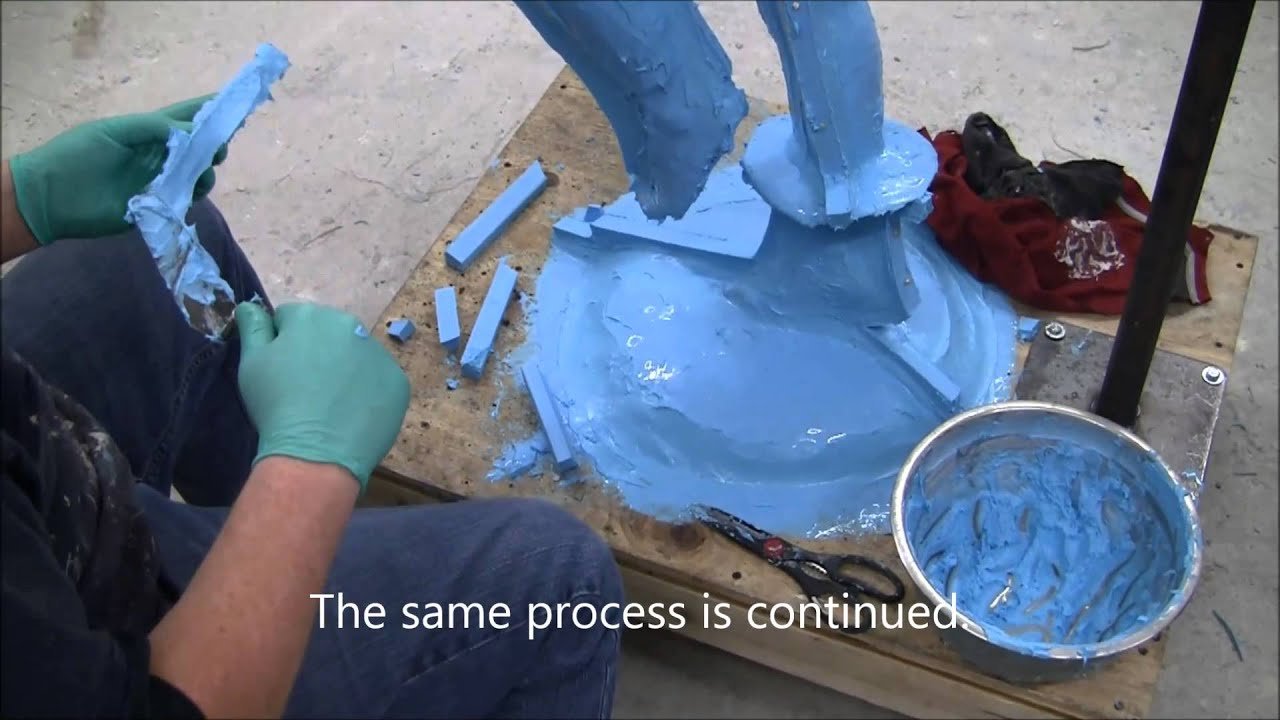
Attach your master object to the box floor with a dab of hot glue or reusable adhesive putty. This prevents it from floating up when you pour the silicone. If you are making a two-part mold, the object sits halfway embedded in clay at this stage.
Mixing accuracy is where most beginners stumble. Getting this right is the core of how to make silicone molds that cure fully.
Step 3: Mix the Silicone Correctly
Measure the base and catalyst precisely using the ratio printed on the container — usually 10:1 or 1:1 by weight. Weighing is far more reliable than guessing by volume, because the two parts have different densities.
Mix thoroughly for 2-3 minutes, scraping the bottom and sides of the container. Unmixed silicone never cures properly and leaves sticky spots. Work within the pot life printed on the label — typically 20-60 minutes depending on the product.
Bubble-free molds are the visible difference between amateur and professional results — and a key step in how to make silicone molds that cast clean.
Step 4: Degas the Mixture
Trapped air bubbles in the silicone create pinholes on the mold surface, which show up as bumps on every cast part. A vacuum degassing chamber removes these bubbles before pouring.
No chamber? You have options. Pour the silicone slowly in a thin stream from height, which helps bubbles escape. Temperature also plays a role in how the rubber flows — controlled heat, like that managed by an industrial mould temperature controller, keeps silicone at consistent viscosity. Or tap the filled mold box firmly on the workbench to release bubbles. Some crafters use a vibrating tool against the box. Each method helps; a vacuum chamber gives the most professional results.
Pouring technique matters more than people expect. This is the step where how to make silicone molds either goes smoothly or produces air traps.
Step 5: Pour the Silicone
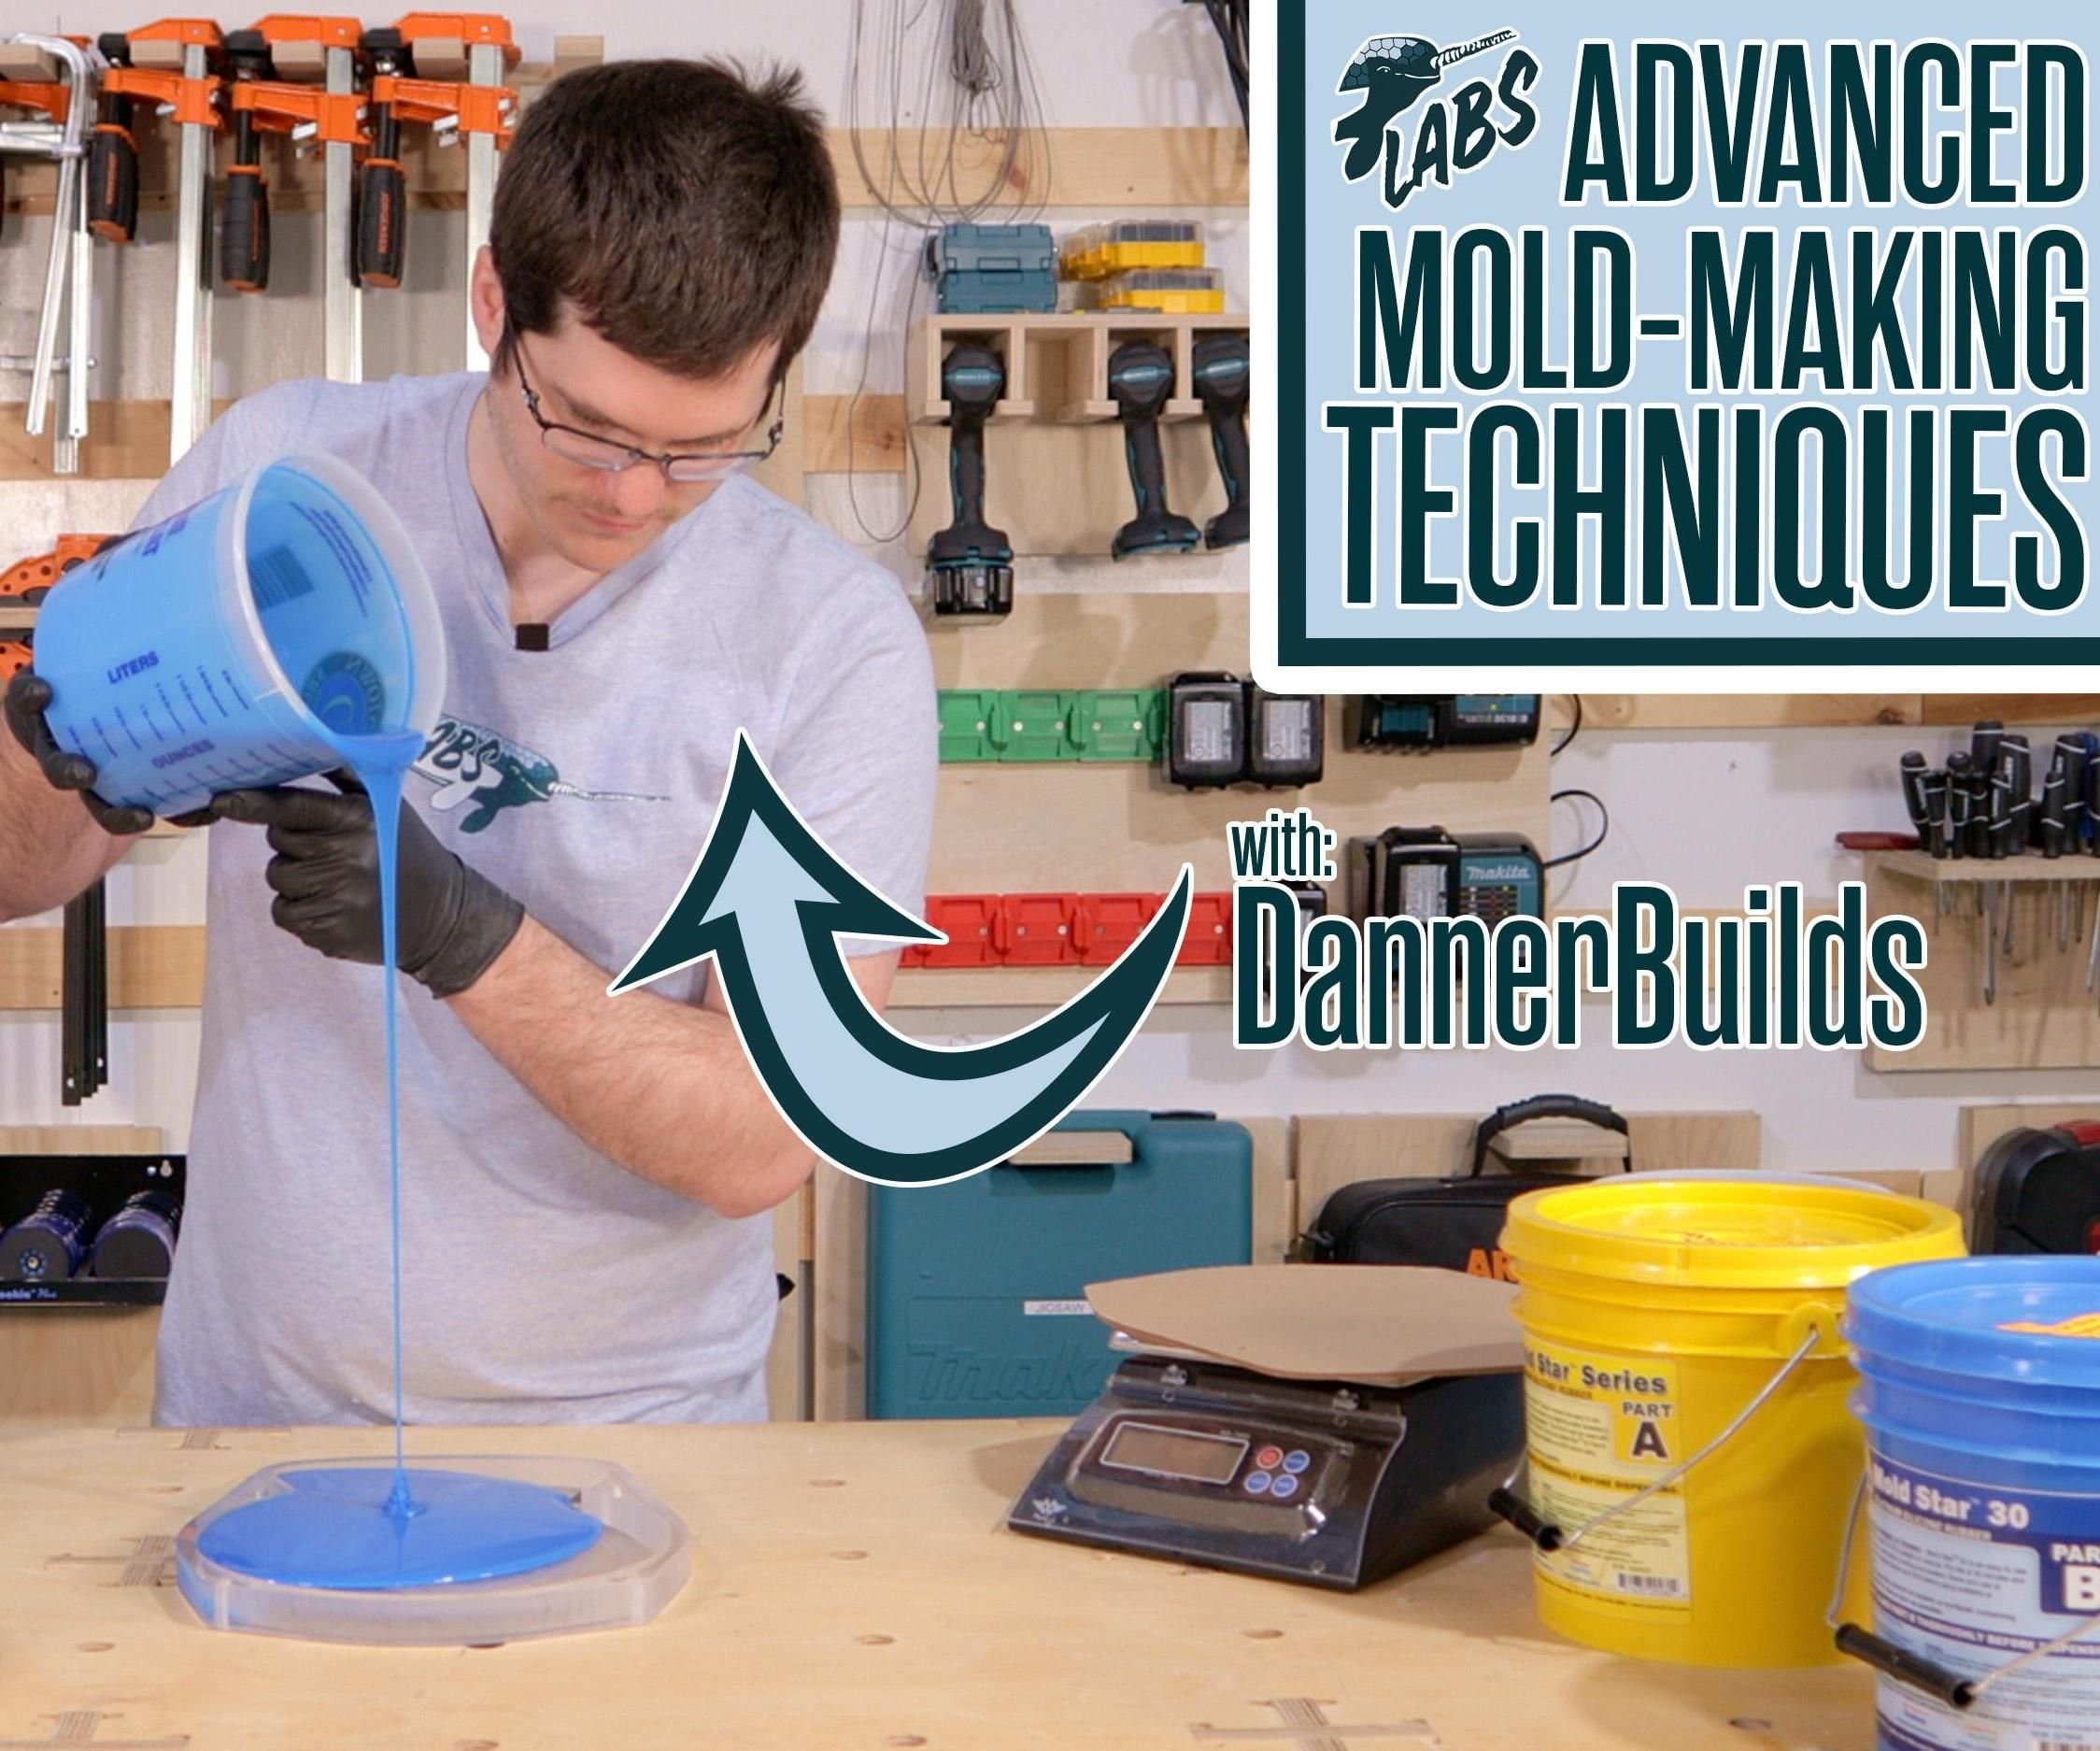
Pour the mixed silicone into the lowest corner of the mold box, letting it flow up and over the object. A slow, steady stream from one corner pushes air ahead and reduces bubble trapping under the object.
Pour until the silicone covers the object with at least 1 cm of rubber above the highest point. Too thin a layer tears easily during demolding. For large objects, consider pouring in layers, letting each layer partially cure before the next.
Patience at the curing stage decides whether the mold surface ends up smooth or tacky. Experienced makers say how to make silicone molds well is 80% patience.
Step 6: Let It Cure
Curing time ranges from a few hours to 24+ hours depending on the silicone and temperature. Warmer conditions speed curing; cool conditions slow it. Do not rush this step — removing the mold too early ruins the surface.
Check the label for the recommended cure time and temperature. If the room is cold, move the mold to a warmer spot. Some silicones are tacky until fully cured, so touch a test corner with a gloved finger to judge readiness.
The final step of how to make silicone molds is the most satisfying — and the easiest to rush into mistakes.
Step 7: Demold Carefully
Peel the silicone mold from the mold box, then flex the rubber to release the master object. Silicone is elastic, so most objects pop out with gentle pressure from the back or edges.
If the master object is stuck, work a dull tool around the edges or use compressed air to break the seal. Never yank — you can tear the mold. Once free, wash the mold with mild soap and water, and it is ready to cast. That completes the full loop of how to make silicone molds — from a plain object to a reusable tool.
Silicone Types Comparison
| Type | Shrinkage | Pot Life | Cure Time | Best For | Cost |
|---|---|---|---|---|---|
| Condensation-cure | ~0.5-1% | 30-60 min | 12-24 hours | General craft, resin, plaster | Lower |
| Addition-cure (platinum) | ~0.1% | 20-45 min | 4-16 hours | Food-safe, skin-safe, precise parts | Higher |
| Brush-on silicone | ~0.2% | 15-30 min | 6-12 hours per coat | Large objects, on-site molding | Higher |
| Pour-on silicone | ~0.5% | 20-60 min | 8-24 hours | Small to medium objects | Medium |
Silicone Molds vs Other Mold Materials
Many beginners wonder whether silicone is worth the cost compared to cheaper mold-making materials. Here is how silicone molds stack up against the alternatives.
| Material | Flexibility | Detail Capture | Reuse Count | Release Ease | Best For |
|---|---|---|---|---|---|
| Silicone | High | Excellent | 100s of casts | Excellent | Resin, soap, wax, food |
| Plaster | None | Good | Single use | Poor | Ceramic slip casting |
| Polyurethane rubber | High | Good | 50-100 casts | Good | Concrete, plaster |
| Latex | High | Moderate | 20-50 casts | Moderate | Flexible coatings |
| Alginate | Low | Excellent | Single use | Good | Body casting, food |
| Rigid resin | None | Excellent | 1-10 casts | Poor | Small precise parts |
Silicone wins for versatility: it flexes around undercuts, releases from almost everything, and survives hundreds of casts. For anyone asking how to make silicone molds versus cheaper alternatives, this flexibility is the answer. When production moves to rigid tooling at scale, the engineering shifts to mold bases and inserts instead. For anyone asking how to make silicone molds versus cheaper alternatives, this flexibility is the answer. The upfront cost is higher than plaster or alginate, but the per-cast cost drops fast once you reuse the mold. That is why how to make silicone molds is the first skill most casters learn — it is the best all-round investment in the workshop.
Common Mistakes When Making Silicone Molds
Most failed silicone molds trace back to a handful of repeatable errors. When you are learning how to make silicone molds, knowing these in advance saves wasted silicone and frustration — much like understanding common injection molding defects saves scrap on an industrial line. When you are learning how to make silicone molds, knowing these in advance saves wasted silicone and frustration. Knowing them in advance saves you a wasted batch.
Wrong mixing ratio. More catalyst does not mean faster curing — it can leave the rubber sticky or brittle. Always weigh both parts exactly.
Skipping the seal coat on porous objects. Plaster, wood, and unfired clay absorb silicone and lock the master inside. Seal porous surfaces before starting.
Bubbles in the pour. Pinholes on the mold surface become bumps on every cast. Degas if you can; pour slowly if you cannot.
Too-thin mold walls. A 3 mm wall tears on the first few parts. Give the mold at least 1 cm of rubber all around for durability.
Pouring silicone onto a dirty master. Every speck of dust becomes a defect in the finished cast. Cleanliness at this stage is not optional.
What You Can Cast with Silicone Molds
Once your silicone mold is ready, the casting options are broad. This is why learning how to make silicone molds pays off — one mold serves many materials.
Epoxy and resin. Jewelry, coasters, paperweights, and decorative pieces. Resin casting cures without sticking to silicone and captures the finest detail. Resin cures without sticking to silicone and captures the finest detail.
Soap and bath products. Custom soap bars with embedded textures. Silicone releases soap easily with no release agent needed.
Candles. Wax casts cleanly from silicone molds, including intricate shapes that would break in rigid molds.
Chocolate and food. Food-grade platinum silicone is safe for chocolate, candy, and baking applications. Verify the specific product is food-safe before use.
Concrete and plaster. Garden ornaments, planters, and architectural details. Silicone flexes enough to release concrete pieces with undercuts. Because concrete is abrasive, expect shorter mold life — but the flexibility of silicone still outperforms rigid molds for shapes with texture or draft.
Reproduction and repair. Makers use silicone molds to reproduce vintage parts, buttons, fittings, and toy components that are no longer manufactured. One original object, one mold, unlimited replacements. This is one of the most practical reasons to master how to make silicone molds — it turns a single part into an infinite supply.
Small-batch production. Many Etsy sellers and small workshops started by learning how to make silicone molds at home. For scaling up into production parts, automotive injection molding materials show how material choice changes with volume. A single master can feed multiple molds running in rotation, producing dozens of identical castings per day for resin art, bath bombs, and confectionery.
Caring for Your Silicone Molds
A silicone mold is durable, but a little care extends its life from dozens to hundreds of casts. This is the part of how to make silicone molds that people skip — and it shows in the mold's lifespan. The same principle drives quality control in manufacturing: process discipline determines product life. This is the part of how to make silicone molds that people skip — and it shows in the mold's lifespan. Treat the mold like a precision tool, because that is what it is.
Wash between uses. Rinse the mold with warm soapy water and dry it completely before storing. Residue from resin, wax, or soap builds up over time and degrades surface detail. Avoid solvents that can swell silicone.
Store flat and unstressed. Silicone deforms under weight or tight folding. Lay molds flat in a drawer or on a shelf, away from direct sunlight. UV light breaks down silicone over time, turning it yellow and brittle.
Keep molds separate. Platinum-cure silicone reacts badly with sulfur compounds, including some latex and certain clays. Store molds away from these materials and use dedicated tools.
Inspect before each use. Check for tears, pinholes, or sticky spots before pouring. Catching damage early avoids ruining a casting batch. Minor tears can be repaired with fresh silicone and a thin patch.
Frequently Asked Questions
How do I make silicone molds without a vacuum chamber?
Pour the silicone in a thin stream from height, tap the mold box firmly to release bubbles, and use a vibrating tool if available. These methods reduce bubbles substantially. A vacuum chamber gives the best results but is not strictly required for most projects.
What is the best silicone for making molds?
For most people learning how to make silicone molds, platinum-cure (addition-cure) silicone is the best choice — it is best for precision work, food-safe casting, and low shrinkage. Condensation-cure silicone is a budget-friendly choice for general craft projects. Choose based on what you will cast — resin and plaster work with both; food and skin contact require platinum-cure.
How long does it take to make a silicone mold?
If you are wondering how long it takes to make silicone molds, the active work is about 30-60 minutes: preparing the master, building the box, and pouring. Total time including curing is 12-24 hours for condensation-cure silicone, or 4-16 hours for platinum-cure. Plan to leave the mold undisturbed overnight.
Can I reuse a silicone mold many times?
Yes — one of the best things about learning how to make silicone molds is that a well-made mold casts hundreds of parts with proper care. Avoid using sharp tools on the mold surface, and wash it between casting runs. Platinum-cure silicone lasts longer than condensation-cure for repeated use.
Do I need a release agent for silicone molds?
Usually not — silicone releases naturally from most casting materials. However, when casting silicone into silicone or using very detailed masters, a release agent prevents bonding. Check your specific silicone's instructions.
Why did my silicone mold stay sticky?
Sticky spots come from an incorrect mix ratio or incomplete mixing. Silicone that never cures fully stays tacky. In some cases, contact with latex or sulfur-containing materials inhibits platinum-cure silicone curing — use nitrile gloves when handling.
How many times can you reuse a silicone mold?
A quality silicone mold survives 100-500 casting cycles depending on the material cast and care taken. Resin and soap are gentle; concrete and abrasive fillers wear molds faster. When you learn how to make silicone molds yourself, the replacement cost is low — just a fresh batch of silicone.
Can I use silicone molds for food?
Only if the silicone is specifically labeled food-grade or food-safe, which means platinum-cure silicone with FDA-compliant formulation. Condensation-cure silicone is not food-safe. When casting chocolate or candy, verify the product certification before use and keep separate molds for food and craft.
Do silicone molds shrink?
All silicone shrinks slightly as it cures. Condensation-cure silicone shrinks about 0.5-1%; platinum-cure shrinks under 0.1-0.3%. For most craft projects the difference is invisible, but for precision parts — like fitting components — choose platinum-cure and account for the residual shrink.
How do I make a two-part silicone mold?
For objects with undercuts or complex shapes, embed the master halfway in clay, pour the first half of silicone, let it cure, add registration keys, then pour the second half. The two halves align via the keys and open like a book to release the part.
Conclusion
Learning how to make silicone molds opens up a world of making — custom jewelry, soap, candles, chocolates, and reproduction parts. It is one of the most rewarding skills in the maker community. The seven steps are simple, and the equipment is affordable. The difference between a beginner mold and a professional one comes down to a few details: clean masters, sealed porous surfaces, accurate mixing, and patience during curing.
The seven steps of how to make silicone molds apply to almost any object you can imagine — and they scale from a kitchen table to a production floor. Whether you cast a single resin pendant or plan to reproduce parts at volume, the fundamentals are the same: a clean master, sealed surfaces, accurate mixing, and patient curing.
Once you have learned how to make silicone molds reliably, the next questions are about materials and process control. How to make silicone molds is step one; keeping molds at the right temperature for consistent casting is step two.
If you are moving from hand-made silicone molds to higher-volume production, the same principles apply at industrial scale — and our engineers can help at contact us. Molding operations — whether silicone, injection, or compression — depend on consistent material temperature and process control. At C N Topower, we build mould temperature controllers that keep production molds at the right temperature for repeatable quality. For more on mold technology and defect prevention, see our injection molding defects guide and mold bases and inserts overview.