
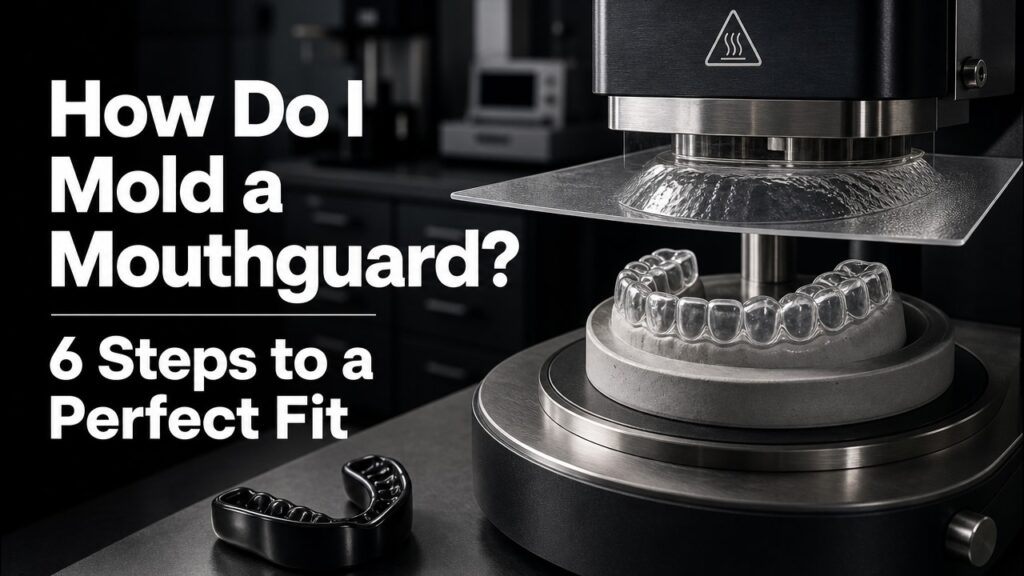
Why Molding a Mouthguard Correctly Matters
A mouthguard only protects your teeth if it fits. A loose guard shifts during impact, offers no real protection, and gets spat out mid-play. That is why the answer to "how do i mold a mouthguard" matters — a few minutes of proper technique turns a generic boil-and-bite guard into a custom-fit protector.
Most sports mouthguards are boil-and-bite style. The plastic softens in hot water, then molds around your teeth when you bite down. Get the timing right and the fit is snug, comfortable, and stays put. Rush it and you get a guard that is too thin in places, too thick in others, or simply wrong.
The good news: molding a mouthguard takes about 15 minutes with nothing more than a pot of water, a bowl of cold water, and a timer. If you enjoy hands-on molding, the same principle — soft material, custom shape — applies to making silicone molds at home. No special tools, no dentist visit. This guide walks through every step so you get a perfect fit the first time you mold a mouthguard.
What Happens When You Mold a Mouthguard
Boil-and-bite mouthguards are made of thermoplastic. At room temperature the material is rigid enough to hold its shape but flexible enough to be comfortable. When heated in water, the plastic becomes pliable — soft enough to form around your teeth but not so soft that it collapses.
When you bite into the softened guard, it takes an impression of your upper teeth. As it cools, the plastic hardens in that shape. The result is a guard that locks onto your teeth and stays in place during contact sports.
The technique matters because the window between "too soft" and "starting to harden" is only a few seconds. The cold-water dip pauses the softening so you have time to seat the guard properly. Biting too early or too late produces a poor impression — the guard ends up loose or lopsided.
That is why the answer to how do i mold a mouthguard is really about controlling temperature and timing. Temperature control is equally critical in mould temperature control for industrial molding processes. Every boil-and-bite guard uses the same physics; the brands just package it differently. Understand the physics and you can mold a mouthguard from any brand confidently.
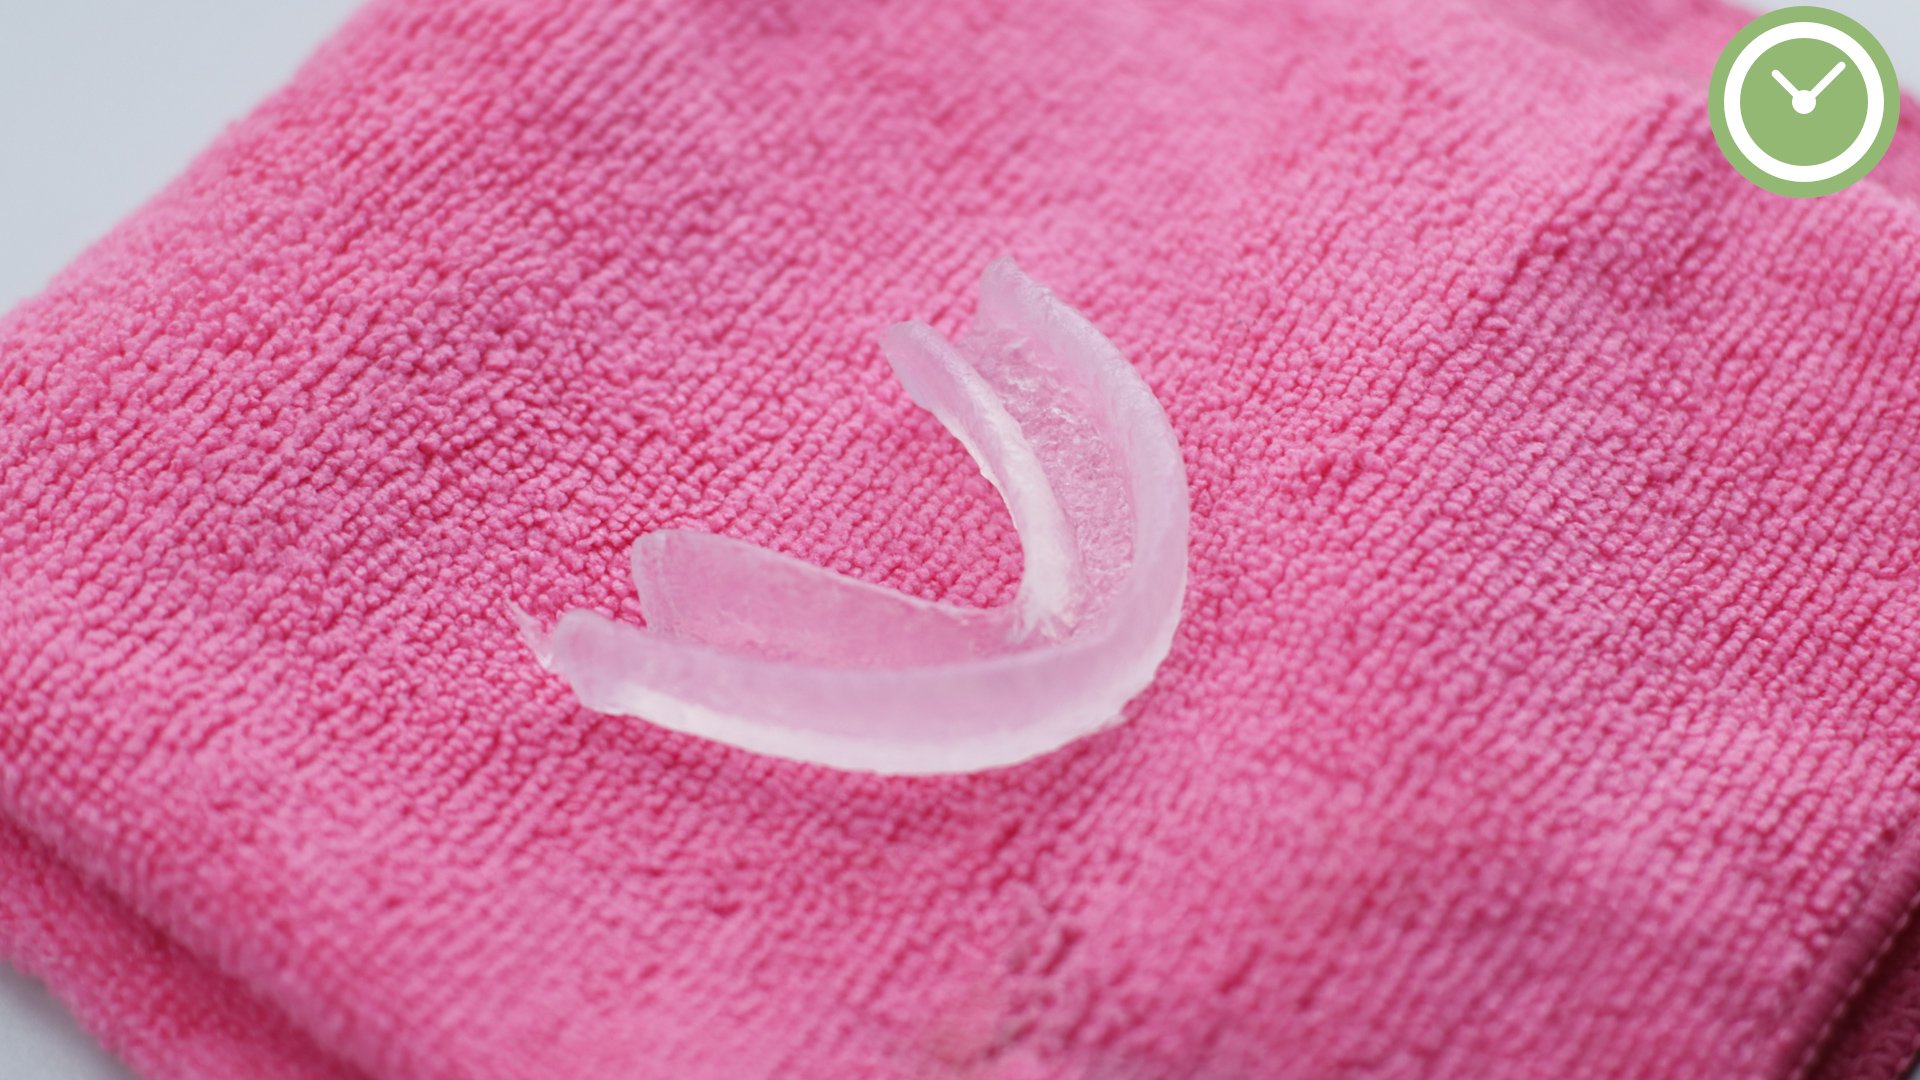
Different brands soften at different temperatures and times. Some, like Shock Doctor guards, specify exact boil times on the packaging. Sisu mouthguards use a thinner material that needs a different technique. Always check your specific guard's instructions, then use the steps below as the general framework.
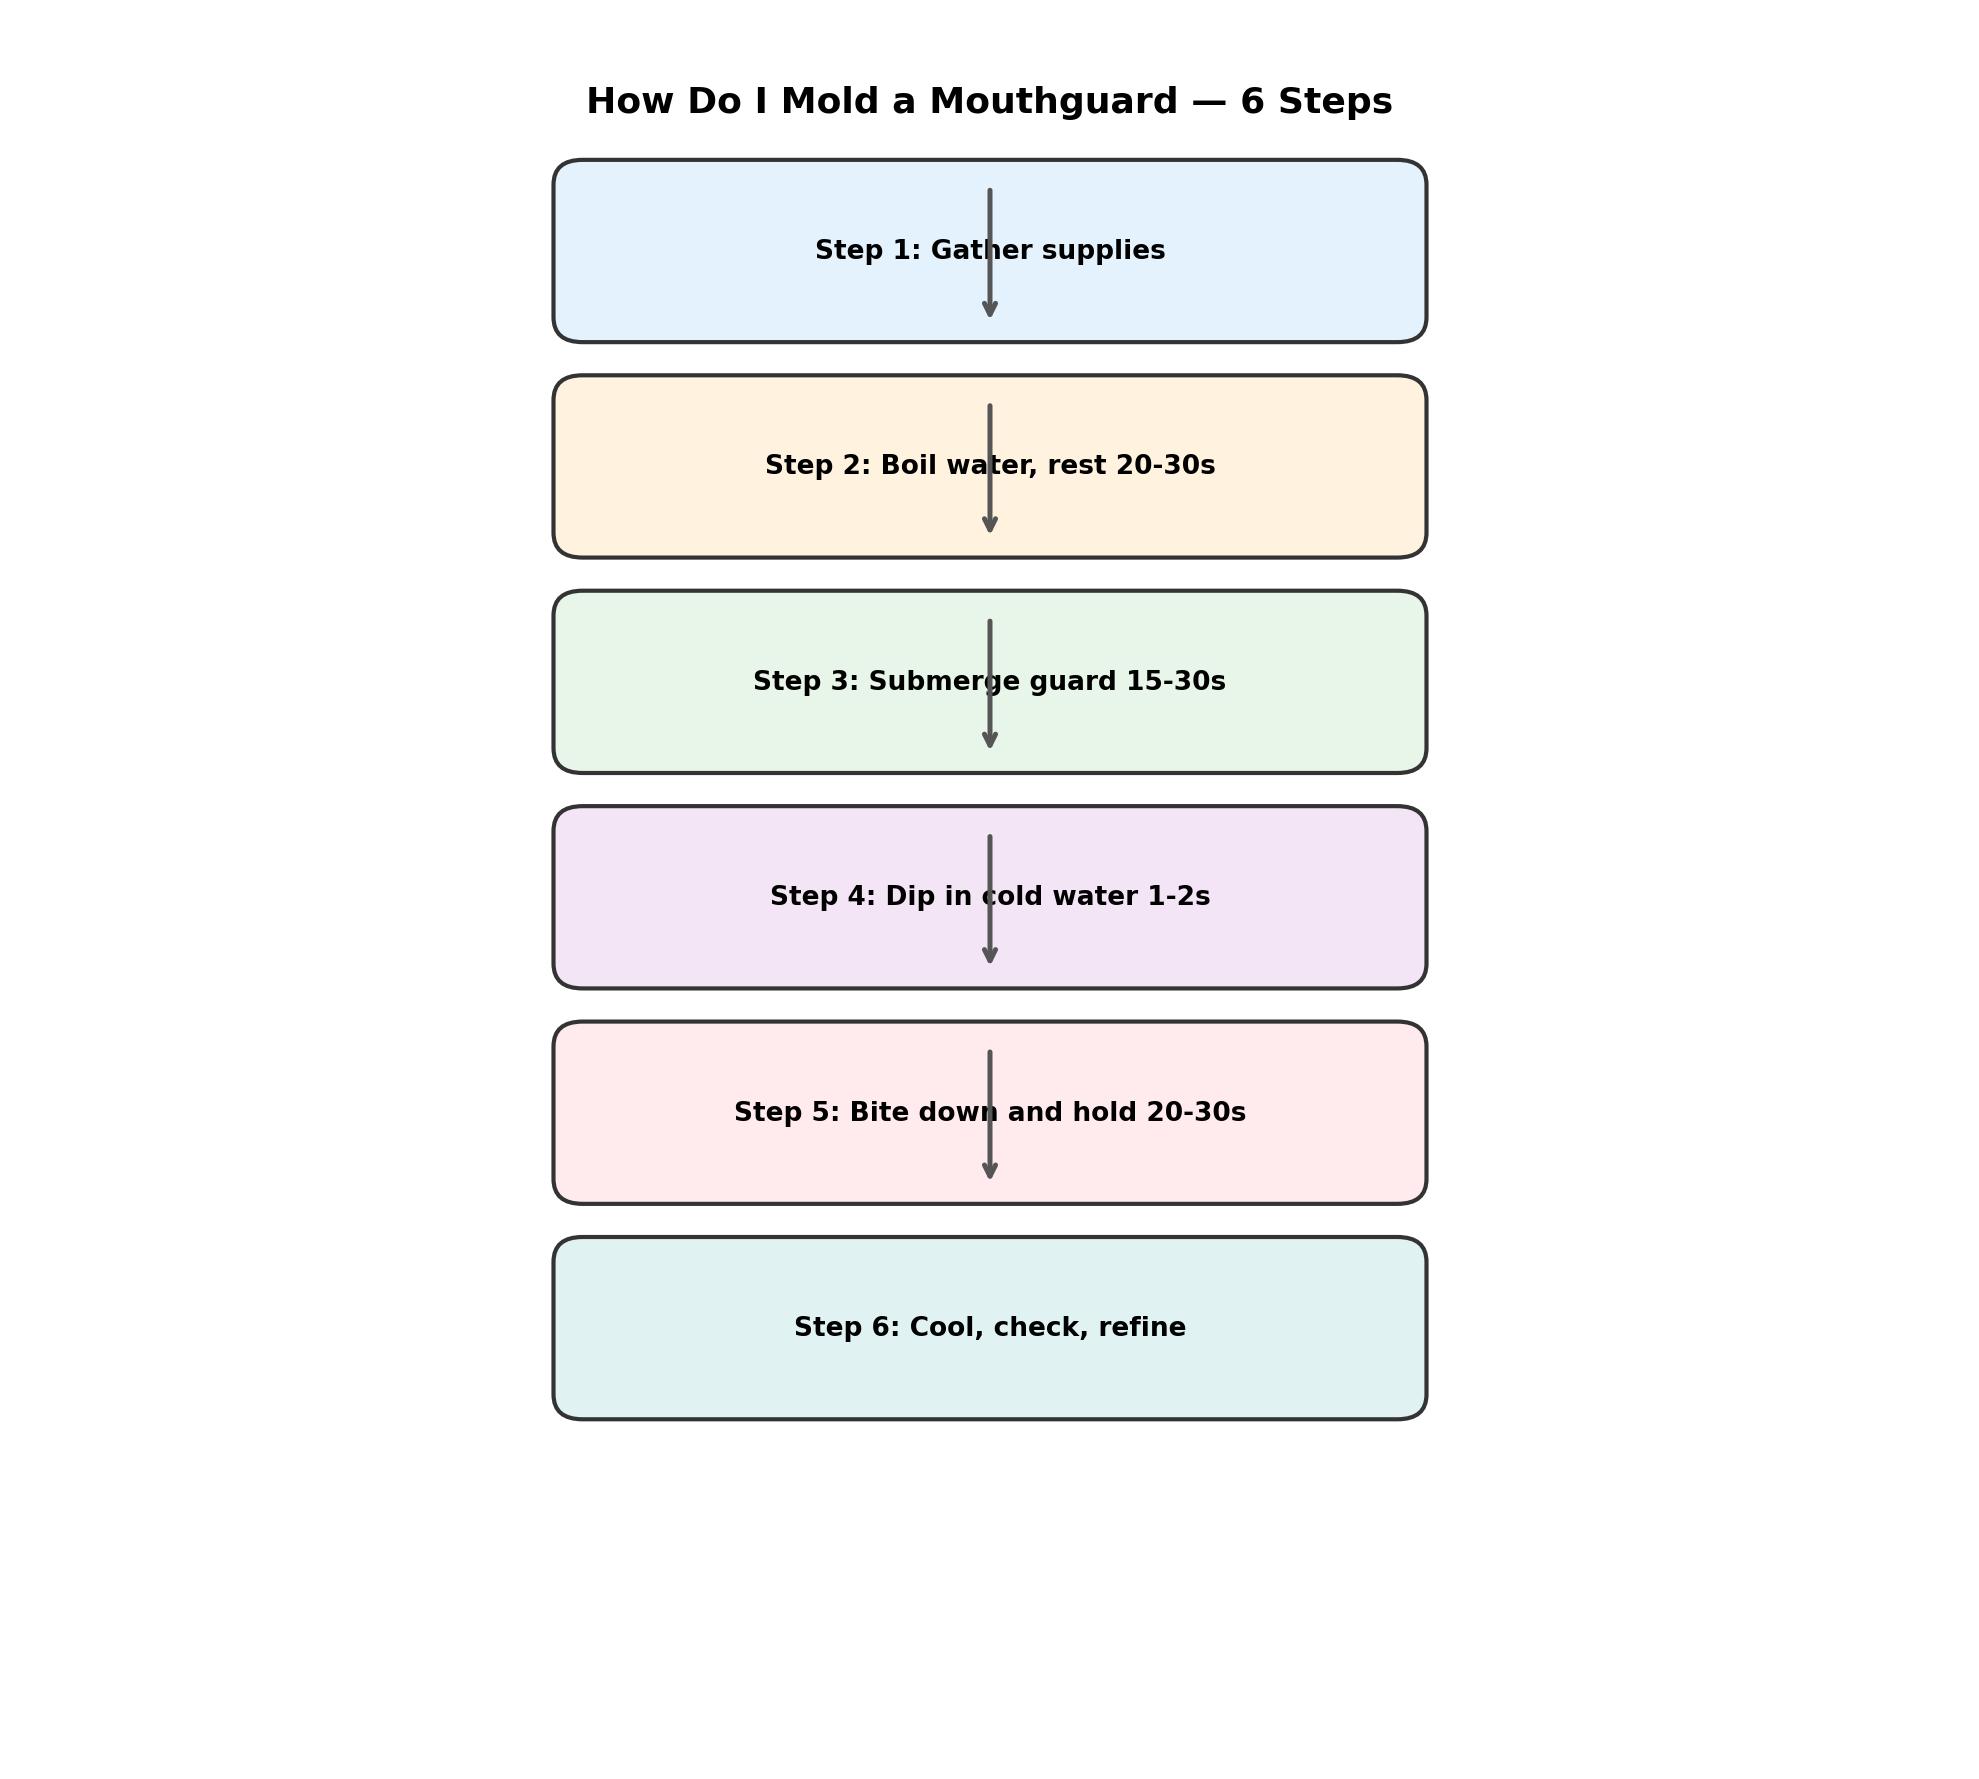
How Do I Mold a Mouthguard? 6 Steps to a Perfect Fit
Step 1: Gather Your Supplies
You need four things: your mouthguard, a pot of water, a bowl of cold water, and a timer. Boil enough water to fully submerge the guard. Fill the bowl with cold — ideally ice — water before you start, so it is ready when you need it.
Read the package instructions for your specific guard. Brands vary on boil time: many say 15-30 seconds, some say longer. If your guard came with a molded carrying case, some brands (like Shock Doctor) let you use the case as the boiling vessel.
Step 2: Boil the Water
Bring the water to a rolling boil, then take it off the heat. Do not keep the pot on the stove while you soften the guard — the water needs to be hot enough to soften the plastic but not boiling, which can over-soften or even damage the guard.
Let the water sit for 20-30 seconds after boiling. This small pause matters: water at a hard boil can make the guard too soft, and then the molding step produces a thin, weak result.
Step 3: Submerge the Mouthguard
Using tongs or a slotted spoon, lower the mouthguard into the hot water. Start the timer immediately. Typical submersion time is 15-30 seconds, but follow your brand's instructions — Shock Doctor recommends about 20 seconds for most models.
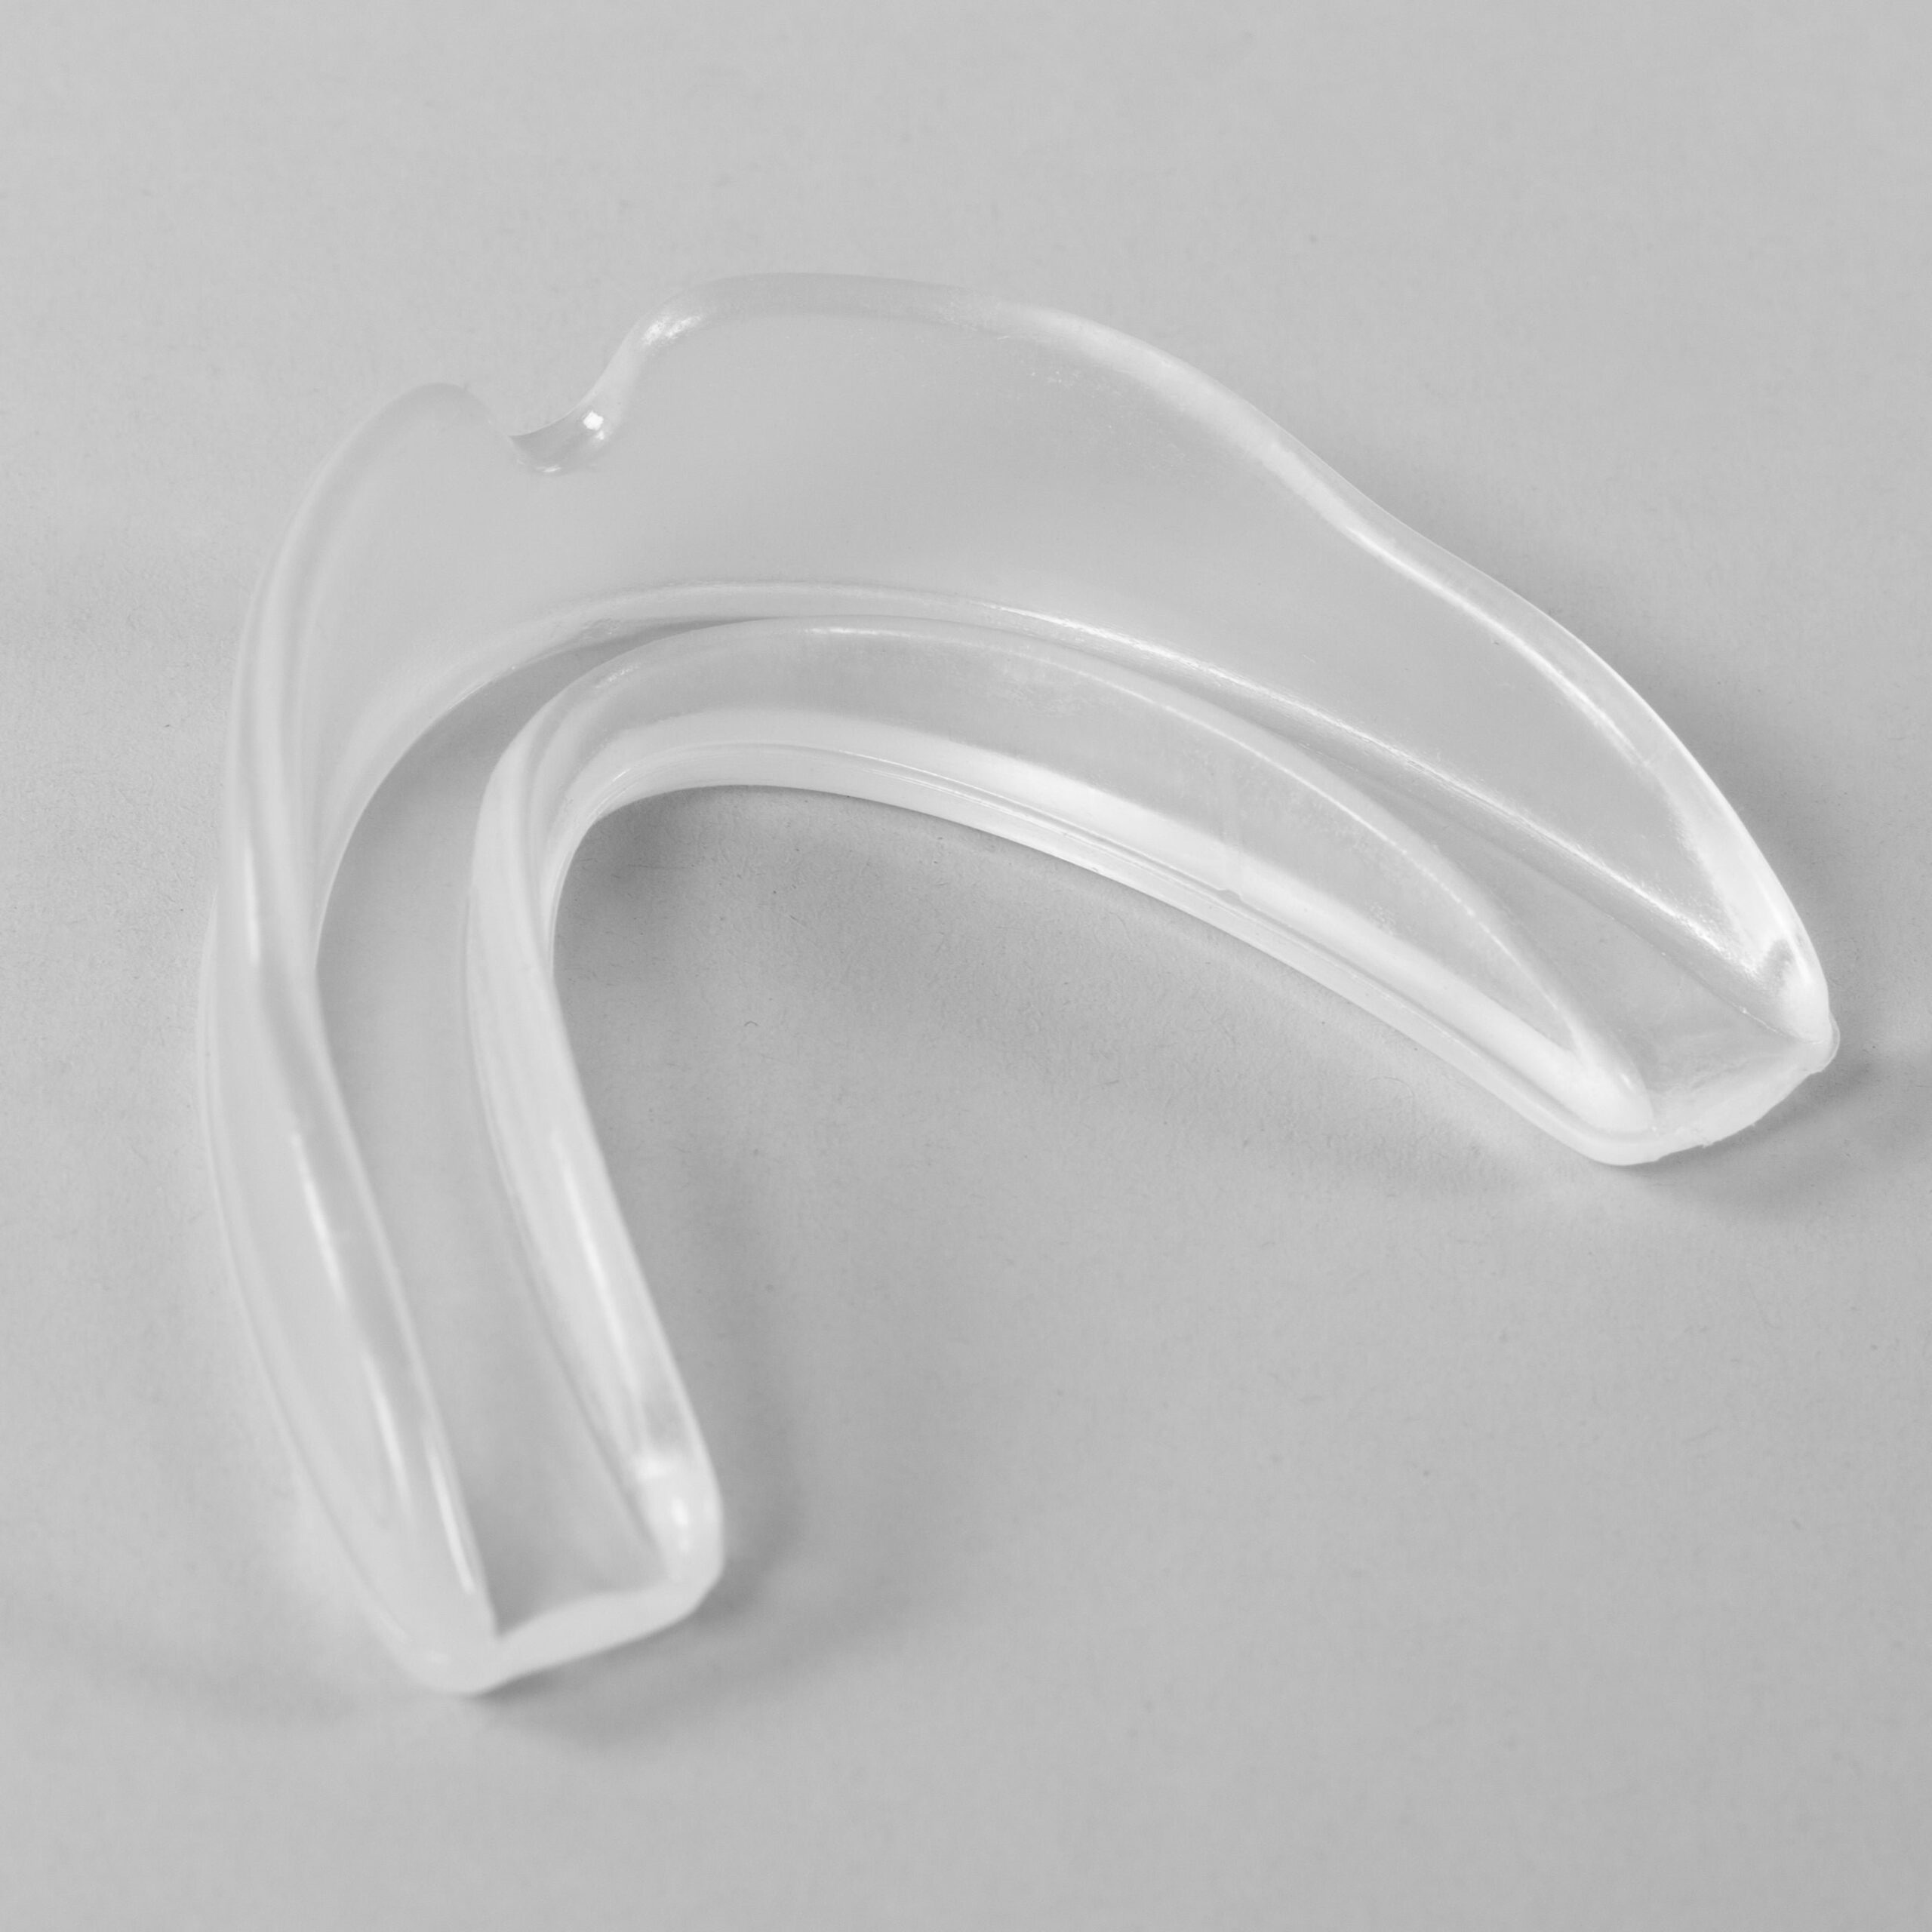
Keep the guard fully submerged. Do not leave it in longer than instructed — over-softening makes the guard thin and flimsy when you bite it. If the instructions say not to boil, use the hottest tap water instead.
Step 4: Cool It Briefly in Cold Water
Lift the guard out with the tongs and shake off the hot water. Dip it into the cold water bowl for 1-2 seconds — just long enough to stop the plastic from cooking, but not long enough to harden it. The guard should feel warm and pliable, not hot.
This quick cool-down is the step most people skip, and it is why so many guards end up too thin: the plastic is still too soft when they bite, so it flattens instead of forming a pocket. A 1-2 second dip prevents that.
Step 5: Bite Down and Suck
Place the guard over your upper teeth and bite down firmly. Hold it for 20-30 seconds while the plastic sets. Press your tongue up against the roof of the guard and suck in — this pulls the material tight against your teeth for a snug fit.
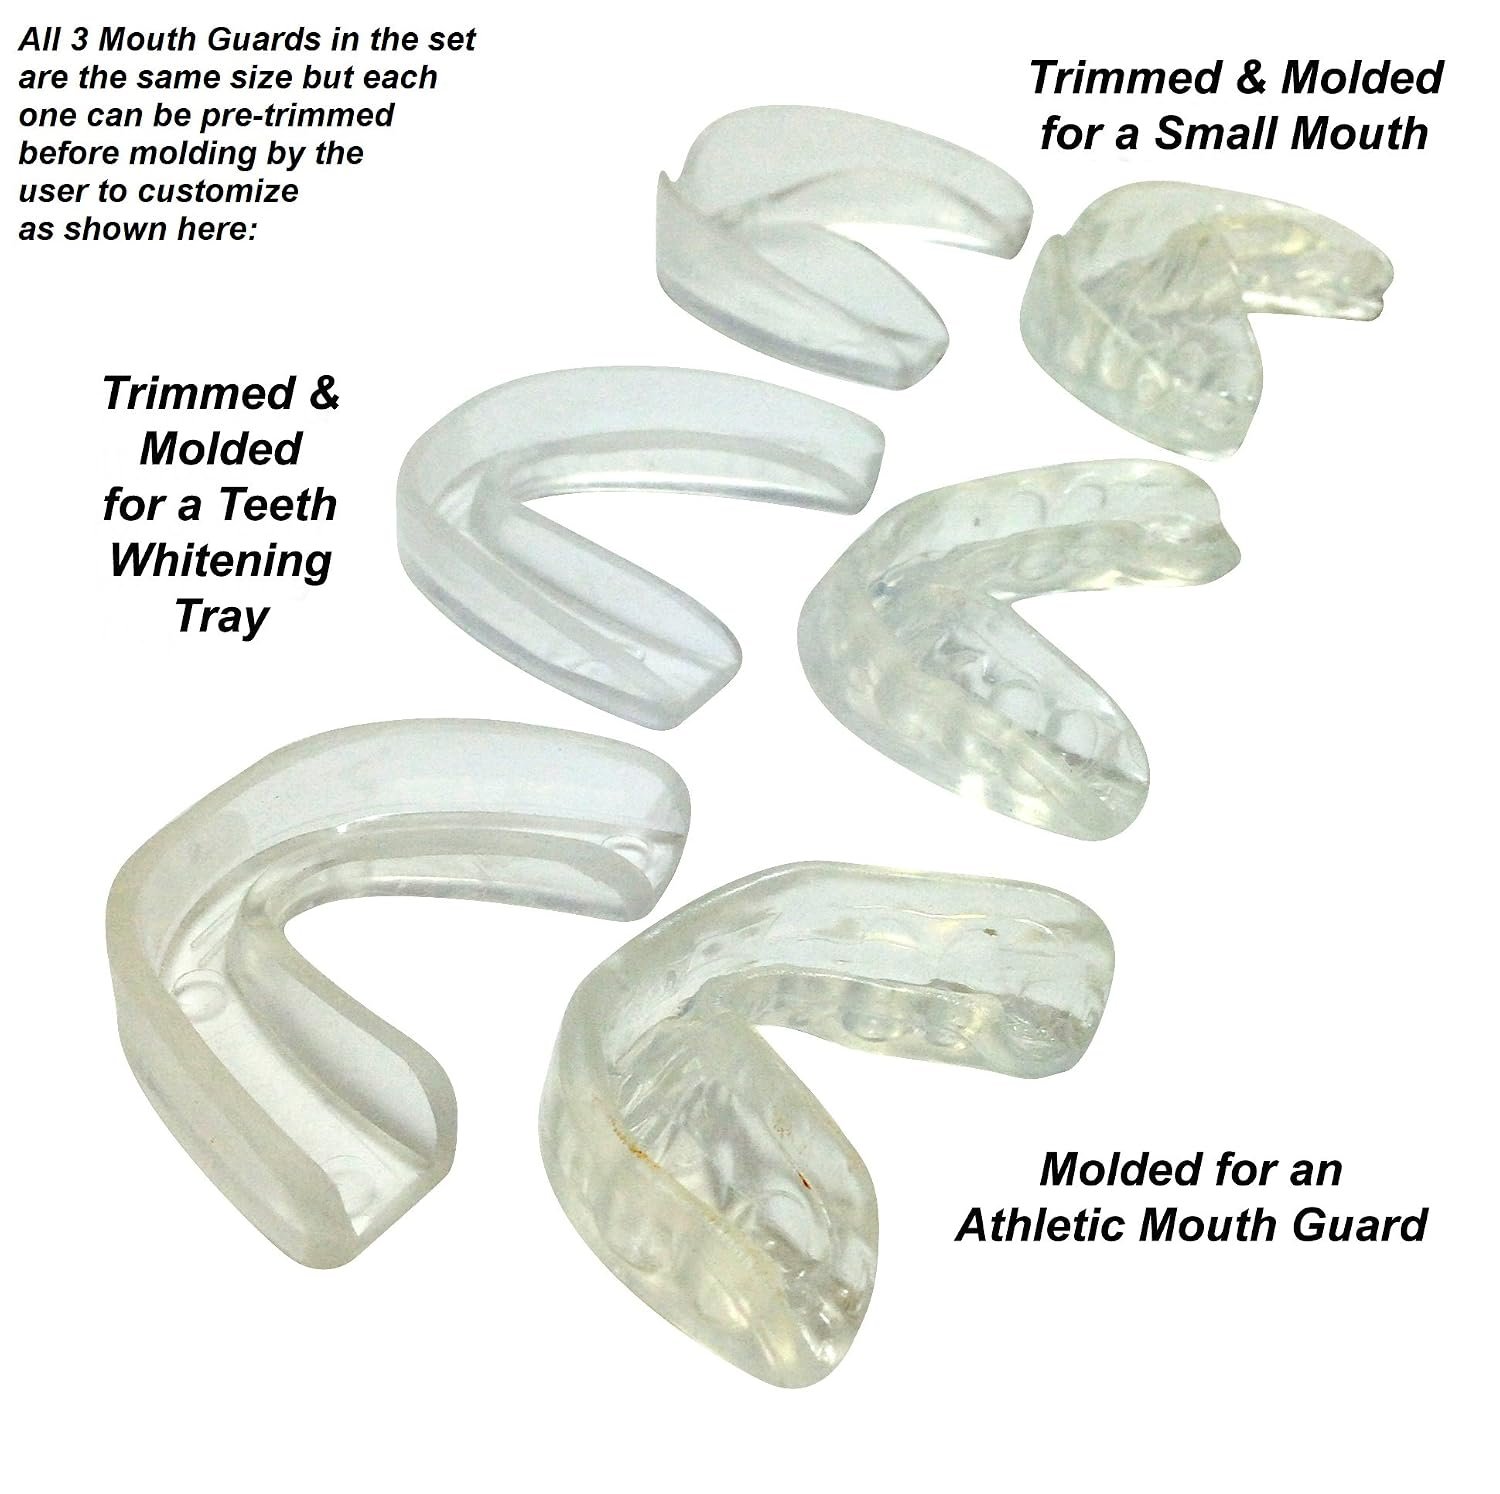
Do not bite so hard that you flatten the guard. Firm, even pressure is right — a discipline that mirrors quality control practices in manufacturing, where controlled pressure and repeatable steps produce consistent results. Some guards have a flange on the front that you should press up with your fingers against your upper lip area while biting.
Step 6: Cool, Check, and Refine
Keep the guard in your mouth for about a minute as it cools, then remove it and run it under cold water to finish hardening. Check the fit: the guard should stay in place when you shake your head and feel snug but not painful.
If the fit is too loose or too tight, you can usually remold. Some guards are designed for one or two remolds; others degrade after repeated heating. Check the package. If the guard has sharp edges after molding, trim them carefully with small scissors, leaving a smooth edge.
Common Mouthguard Molding Mistakes
| Mistake | Result | Fix |
|---|---|---|
| Water too hot / boiling | Guard over-softens, becomes thin | Let water sit 20-30s off the boil |
| Too long in hot water | Flattened, weak plastic | Follow brand's exact submersion time |
| Skipping cold-water dip | Plastic too soft, thin result | Dip 1-2s in cold water before biting |
| Biting too hard | Guard flattens, loses thickness | Firm but even pressure |
| Remolding too many times | Guard degrades, holds shape poorly | Remold at most 1-2 times |
| Not checking fit | Loose guard offers no protection | Test retention before use |
Types of Mouthguards: Which Can You Mold?
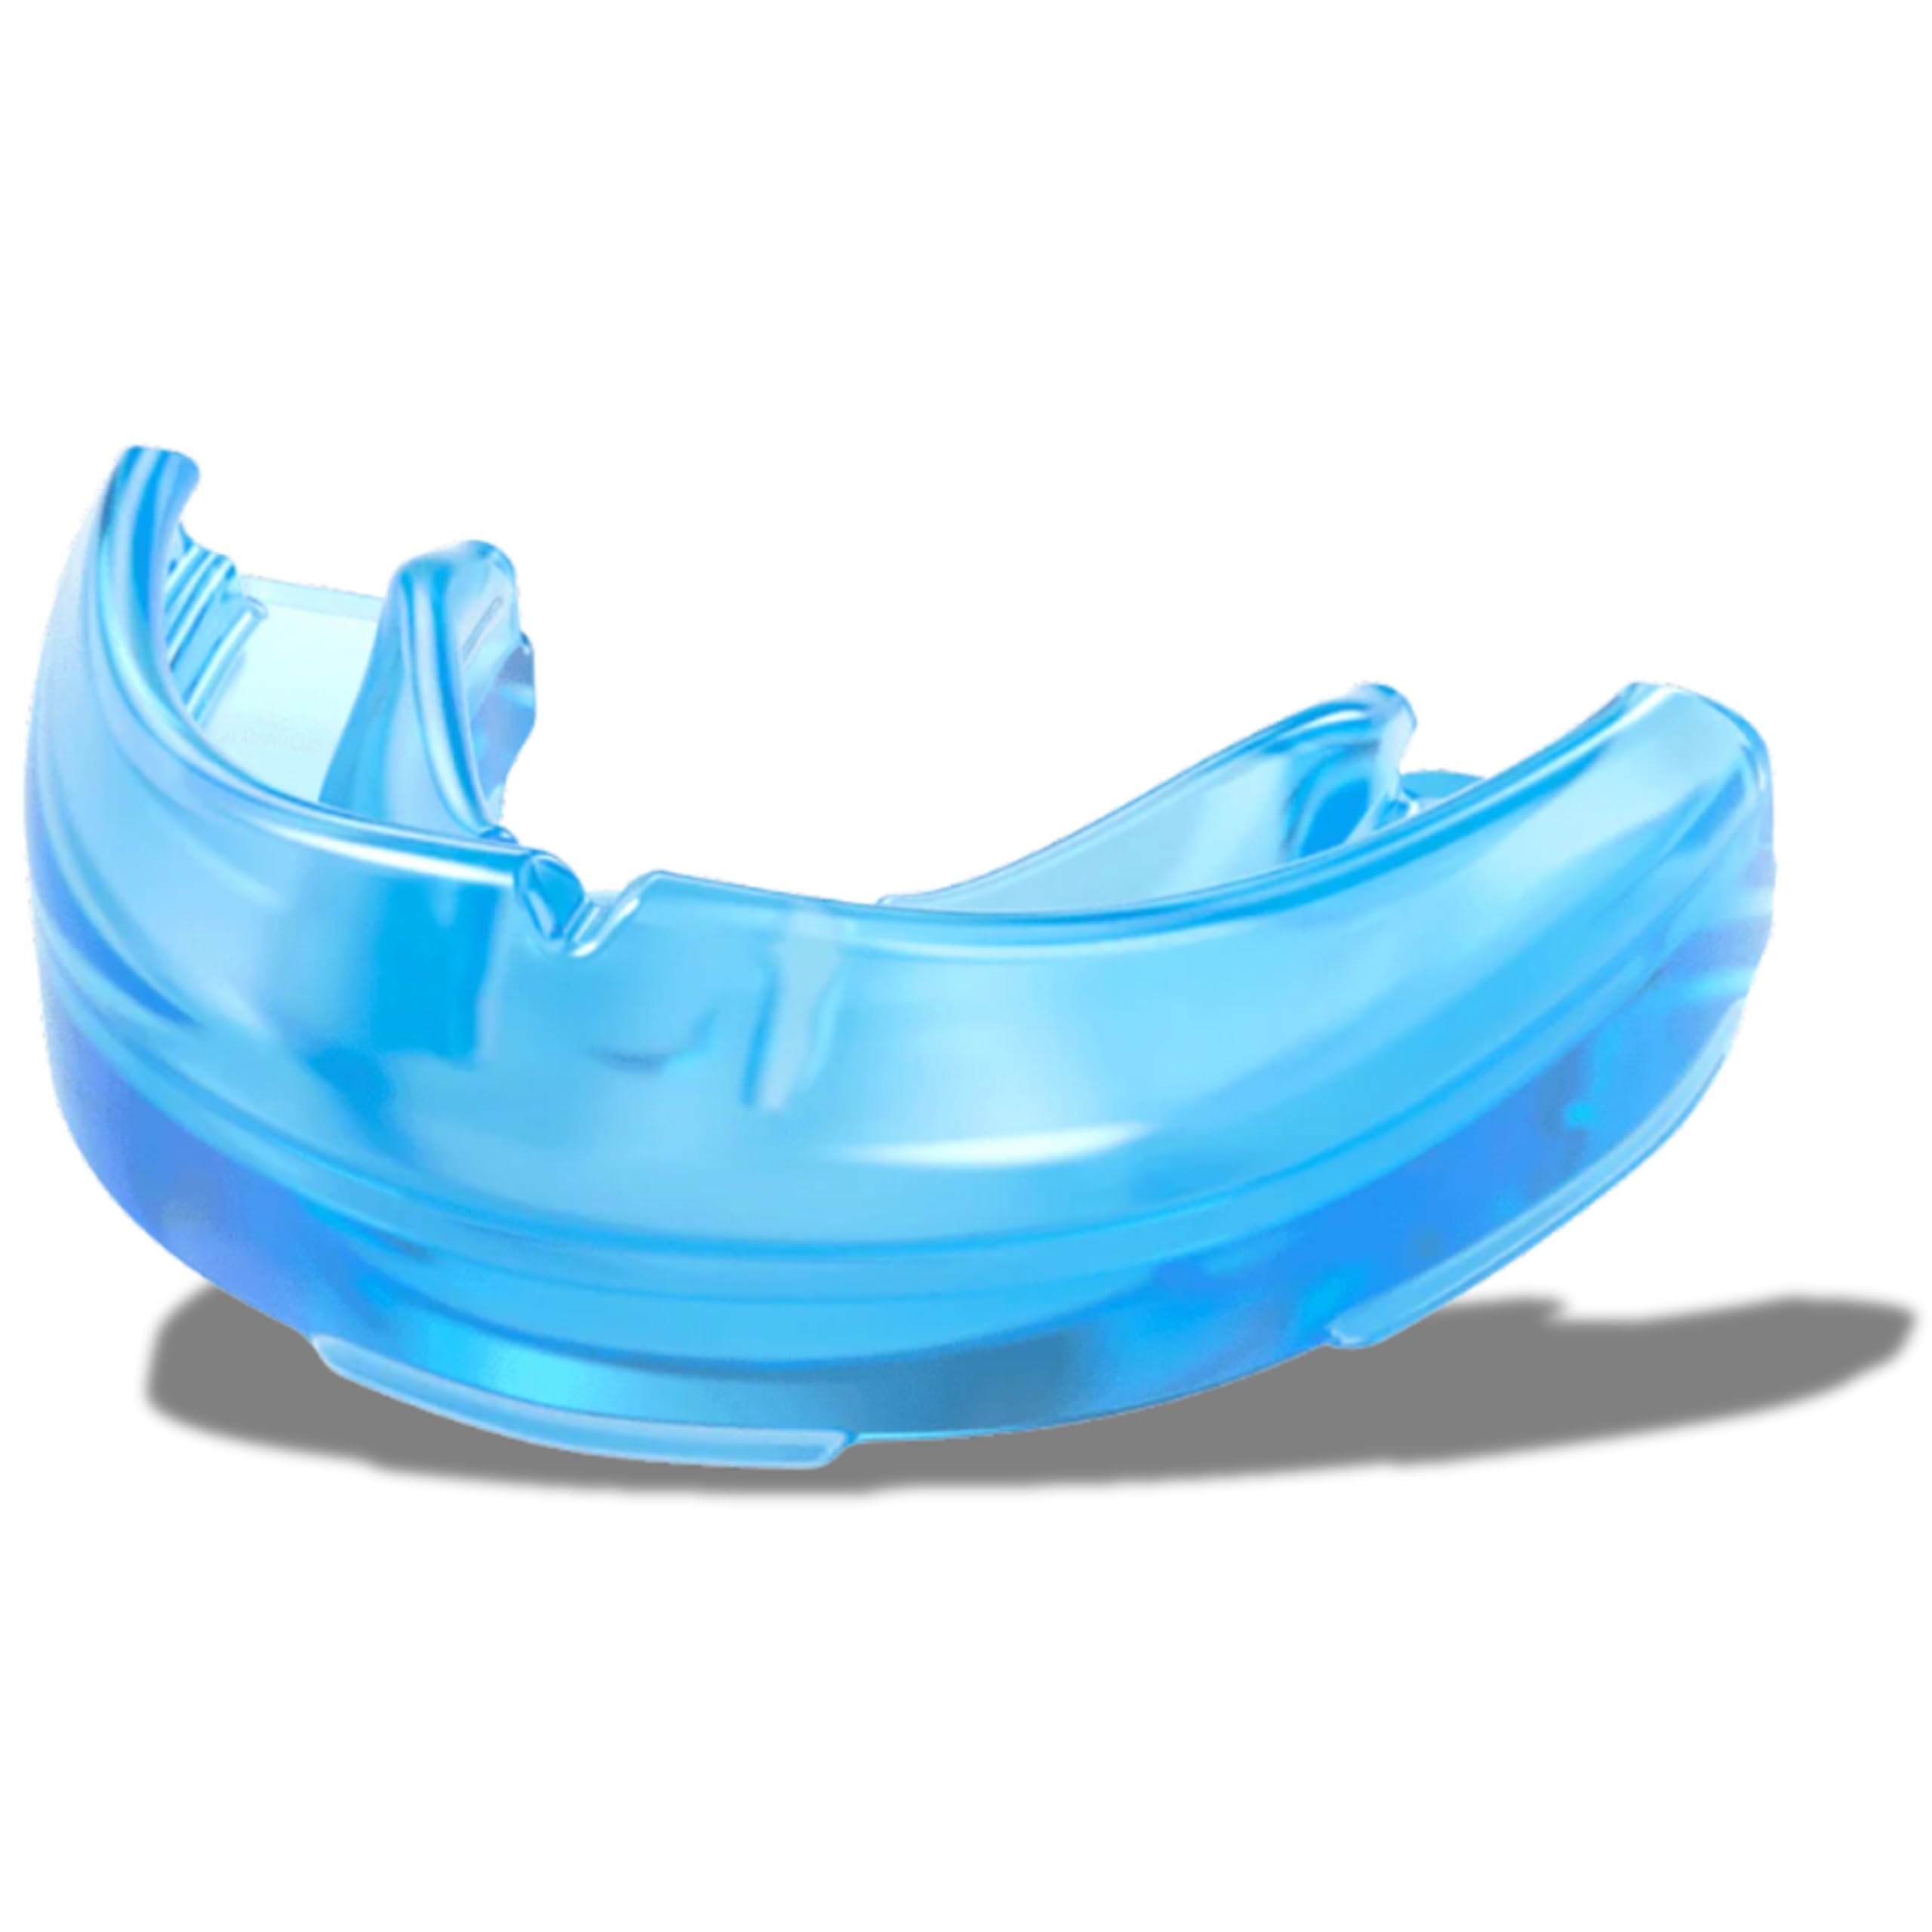
Not every mouthguard is designed for at-home molding. Knowing the types helps you pick the right one — and tells you whether "how do i mold a mouthguard" even applies.
| Type | Moldable at Home? | Fit | Cost | Best For |
|---|---|---|---|---|
| Boil-and-bite | Yes | Good (with technique) | $5-30 | Most sports, most people |
| Stock (pre-formed) | No | Poor — one size fits none | $2-10 | Emergencies only |
| Custom (dental) | No | Excellent | $150-400 | Serious contact athletes |
| Thermoformed home kits | Yes | Very good | $50-100 | Braces wearers, precision fit |
The boil-and-bite type is what most people mean when they ask how do i mold a mouthguard. If you are curious how precision molding scales up industrially, micro moulds for injection molding show the extreme end of the craft. It balances cost, fit, and convenience — and with the right steps, its fit gets close to a custom dental guard. That is why mastering the technique is worth fifteen minutes of your time.
Brand-Specific Molding Notes
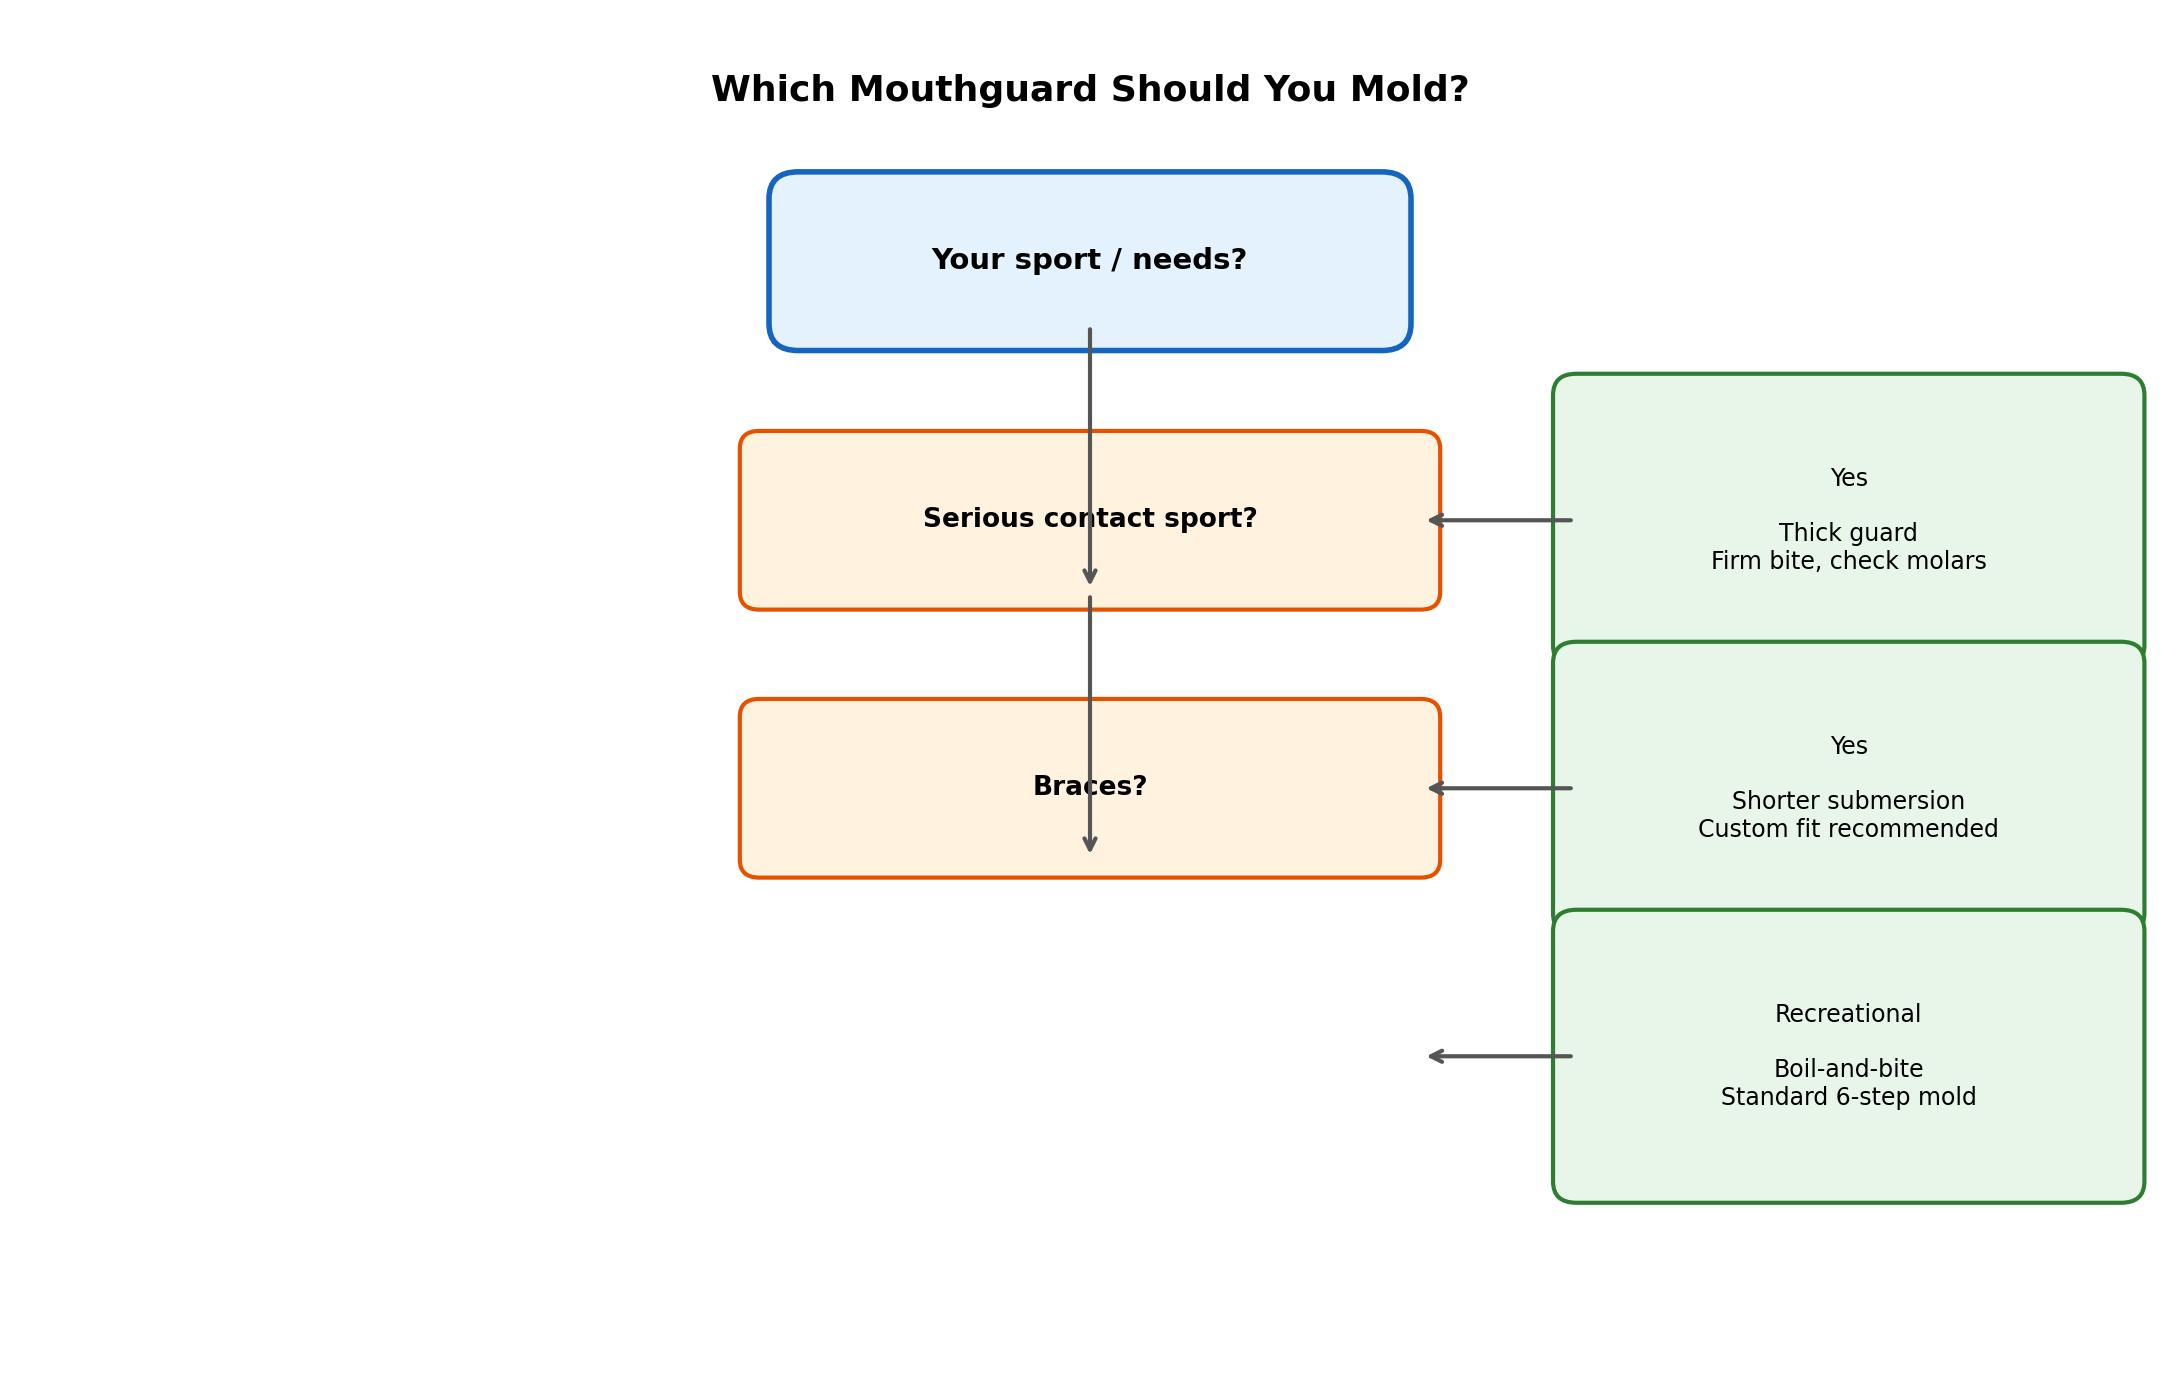
While the six steps work for most boil-and-bite guards, popular brands have specific requirements worth knowing before you mold a mouthguard.
Shock Doctor. One of the most common sports guard brands. Most models specify about 20 seconds in the supplied boiling cup or a pot of hot water, then a 1-2 second cold dip. Shock Doctor guards are typically remoldable once or twice. Their gel-lined models need slightly shorter submersion to protect the gel layer.
Sisu. Sisu guards use a thin, perforated material that molds differently. The recommended technique involves warm (not boiling) water and careful pressing through the holes. Sisu can be remolded many times — a big advantage if you are unsure of the first fit.
Venum. Similar to Shock Doctor — about 20 seconds in hot water, brief cool, then bite and hold. Venum guards have a thicker profile for contact sports, so mold with firm pressure to set the full shape.
Battle, Tapout, and generic sports guards. Follow the package time, usually 15-30 seconds. These budget guards usually allow a single remold at most; make the first attempt count.
How to Mold a Mouthguard for Football and Contact Sports
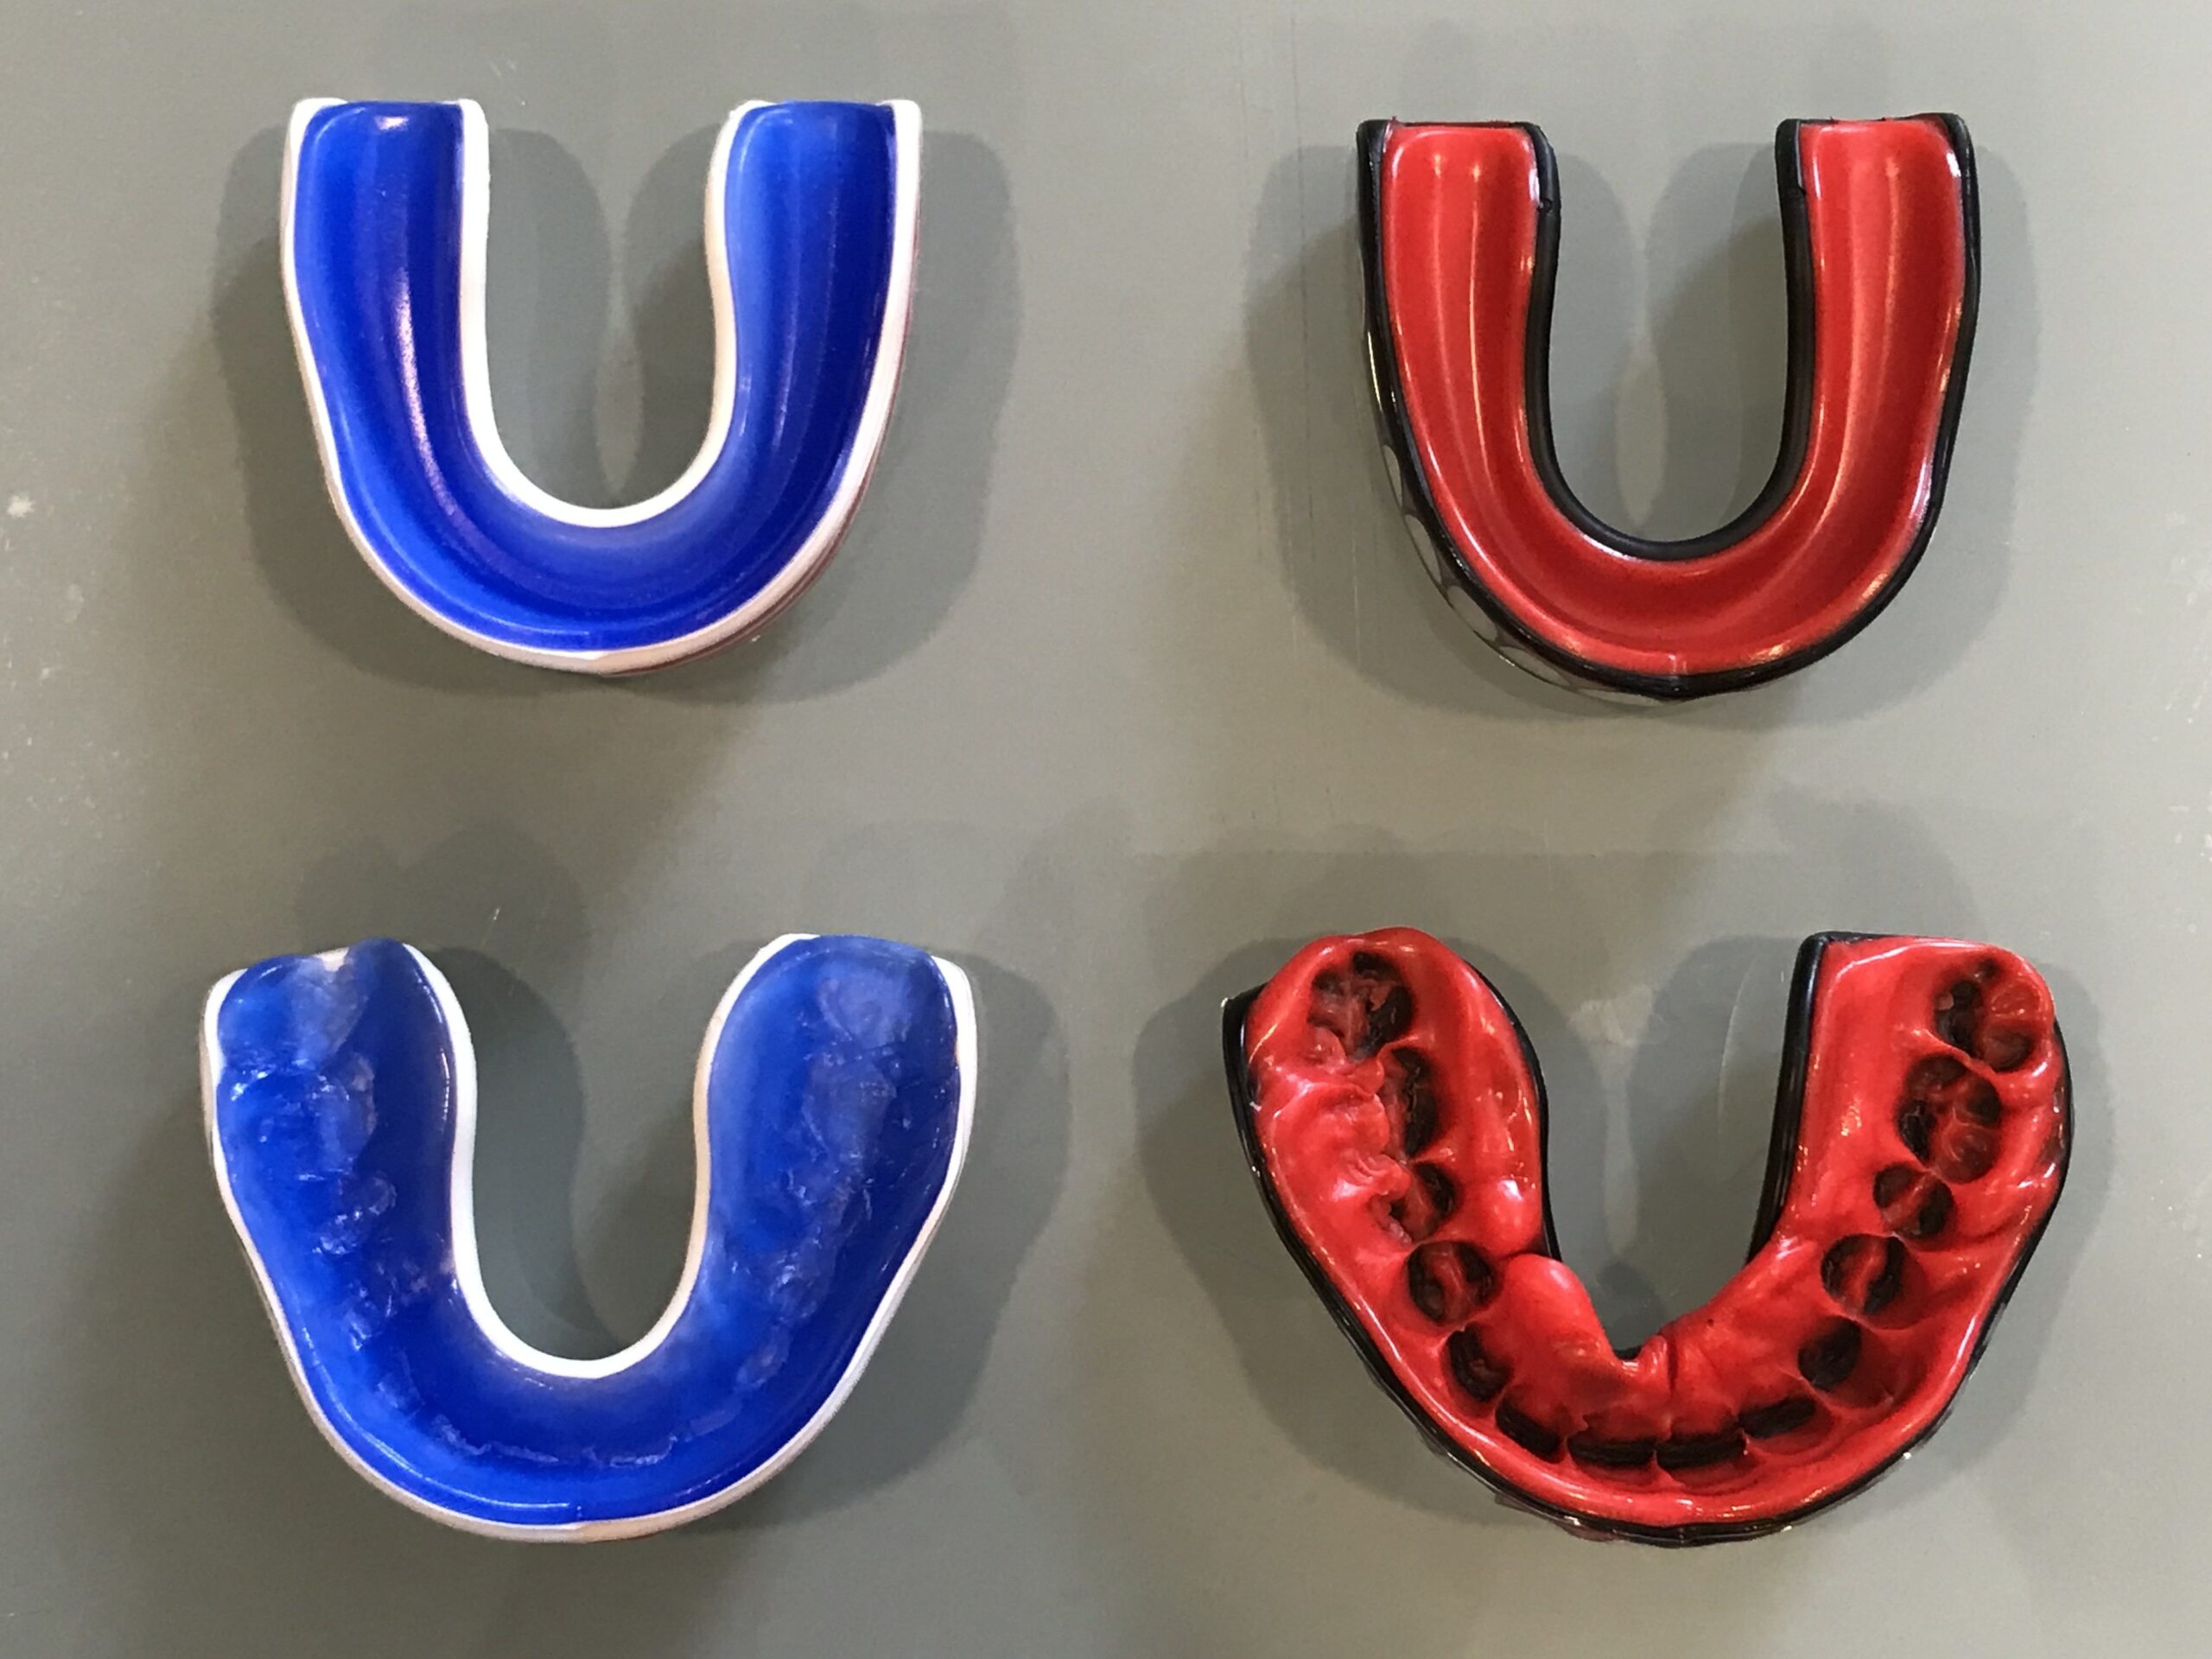
Contact sports demand a guard that stays locked in place through hits. Dental associations recommend fitted protection for sports and dental injuries. The molding technique is the same, but the fit standard is stricter.
After molding, the guard should require gentle effort to remove — it should not slide off when you open your mouth or shake your head. If it does, the guard is too loose for contact sports. You can often remold for a tighter fit, or consider a thicker guard designed for impact.
For football and hockey, also confirm the guard covers your back molars completely. A guard that stops short exposes the teeth most likely to chip. Check coverage in a mirror and remold if needed.
Mouthguards in contact sports also take regular impacts, which slowly compress the molded material. Any molded plastic part — a guard or an injection mold insert — performs differently as the material is stressed repeatedly. Recheck the fit every few weeks during the season. If the guard starts feeling loose, that is the molded plastic relaxing — either remold it once, or replace it if the material feels thin or brittle.
For lacrosse, boxing, and MMA, a thicker guard profile is standard, and the molding technique should use firm, even biting pressure to set the deeper shape. Players who wear a guard that keeps moving should look at whether the guard is truly molded to the teeth — a common sign that the cold-dip step was skipped during molding.
When you mold a mouthguard for contact sports, also practice speaking and breathing with it in before game day. A guard that limits airflow or speech will get abandoned mid-match — and an unmolded or half-molded guard offers no protection. The right fit feels like part of your mouth.
Mouthguard Care After Molding
Once you have molded a mouthguard that fits, keep it in good shape so it lasts a season or more. Care is simple but matters — a dirty or damaged guard is a hygiene problem and a safety problem.
Rinse before and after use. Run the guard under cold water and brush it gently with a toothbrush and toothpaste. Avoid hot water — it can soften and warp the molded shape over time.
Dry it fully. Store the guard in its ventilated case after air-drying. Trapped moisture breeds bacteria and can cause the material to degrade. Never store it wet in a sealed case.
Keep it out of direct heat. A molded mouthguard left in a hot car, near a radiator, or in direct sun can soften and lose its fit. Industrial processes manage the same risk with temperature control units that hold materials at precise temperatures. Treat it like any thermoplastic — heat is the enemy of your custom shape.
Replace on schedule. Replace the guard each season for youth athletes, or sooner if it shows cracks, tears, or a loose fit. A guard that has stopped holding its molded shape is not protecting anything. Following these habits means you only need to mold a mouthguard once per guard — and it keeps working the whole time.
Frequently Asked Questions
Getting the fit right matters in any molding process — the same discipline that controls defects in injection molding applies here at a smaller scale.
How do i mold a mouthguard without boiling it?
If your guard is not boil-and-bite type, or you have no stove, use the hottest tap water you can run. Soak the guard in it for 30-60 seconds — longer than boiling because tap water is cooler. Test softness by pressing the material with a finger; it should dent easily but not sag.
Microwave heating is not recommended for most guards — hot spots can melt or weaken sections unevenly, and a guard that is soft in one spot and rigid in another will not mold properly. Stick with water heating, which is even and controllable.
Once you are comfortable with the technique, you will find yourself helping teammates through their first mold — the process is that simple once the timing clicks.
How long should I boil a mouthguard?
Most boil-and-bite guards need 15-30 seconds in hot water that has been taken off the boil and rested for 20-30 seconds. Always check your brand's instructions — Shock Doctor usually says about 20 seconds, Sisu uses warm water, and times vary by model.
Can I remold a mouthguard more than once?
Most guards tolerate 1-2 remolds before the plastic degrades. Repeated heating makes the material brittle and less likely to hold shape. Sisu guards are the notable exception — they are designed for many remolds. If you need a different fit, consider a fresh guard.
Why does my mouthguard feel loose after molding?
A loose fit usually means the guard was too soft when you bit, flattening instead of forming a pocket. Water was too hot, or submersion too long, or you skipped the cold-water dip. Try one careful remold with a shorter boil time and a 1-2 second cold dip before biting.
Should the mouthguard touch my gums?
The guard should cover your teeth down to the gum line but not dig into the gums. If it presses painfully on gum tissue, the fit is too tight — trim the edges slightly with small scissors, or remold. Comfort matters; a guard you avoid wearing offers no protection.
Can I remold a mouthguard after it has been worn?
Yes, most boil-and-bite guards can be remolded after wearing, as long as the material has not degraded. Clean the guard first, then repeat the boiling and biting process. Keep remolds to 1-2 total for best results — beyond that, the plastic gets brittle and holds its shape poorly.
What water temperature do I need to mold a mouthguard?
Bring water to a rolling boil, then let it rest off the heat for 20-30 seconds. That puts the water in the right range — hot enough to soften the thermoplastic but not so hot that it over-softens. Boiling water straight off the stove is usually too aggressive for the material.
How do I mold a mouthguard with braces?
Molding over braces requires extra care. The plastic can grip the brackets and be painful to remove. Use a shorter submersion time so the guard stays firmer, and remove it gently straight out rather than twisting. Some orthodontists recommend a custom guard for braces wearers instead.
Conclusion
Now you know how do i mold a mouthguard — and more importantly, you know the details that separate a great fit from a failed one. Boil, rest, submerge by the clock, quick cold dip, bite with even pressure, check the fit, and refine once if needed. Fifteen minutes, no tools beyond a pot and a bowl.
If you are still unsure how do i mold a mouthguard after reading, go back to the six steps and rehearse the sequence: boil, rest, submerge, dip, bite, hold, check. Repetition is what makes the timing instinctive.
Molding a mouthguard is a small skill with real payoff: a guard that fits protects your teeth, your jaw, and your game. Take the time to do it right, check the fit before every season, and replace the guard when it shows wear. Getting the fit right the first time saves the hassle of remolding.